
Welcome to the heart of gardening, where the magic begins beneath your feet! Whether you’re nurturing your very first seedling or you’re a seasoned gardener with a thriving oasis, understanding how to prepare your soil is crucial for cultivating vibrant, healthy plants. The soil is the foundation of all plant life, and treating it with care will reward you with flourishing blooms and bountiful harvests. By delving into the art of soil preparation, you set the stage for a garden that grows not just in beauty but in resilience.
In this article, we’ll explore the essential steps to transform your garden bed into a nurturing haven for plants. We’ll guide you through assessing your soil’s current condition, enriching it with vital nutrients, and optimizing its structure for optimal root growth. From learning to identify soil types to discovering natural amendments that boost fertility, you’ll gain the confidence to create a rich, life-sustaining environment. Whether your garden dreams include a blanket of colorful perennials or a vegetable patch brimming with produce, preparing your soil properly is the key to unlocking their potential.
Prepare to dig deep into the world of soil care, where even small efforts can yield remarkable results. Together, we’ll demystify the process, offering practical tips and insights that both beginners and experienced gardeners can apply. Embrace this opportunity to connect with your garden on a fundamental level, understanding that the soil is not just dirt, but a living, breathing partner in your gardening journey. Let’s cultivate a thriving garden from the ground up, starting with the invaluable foundation of well-prepared soil.
Test Soil pH Levels
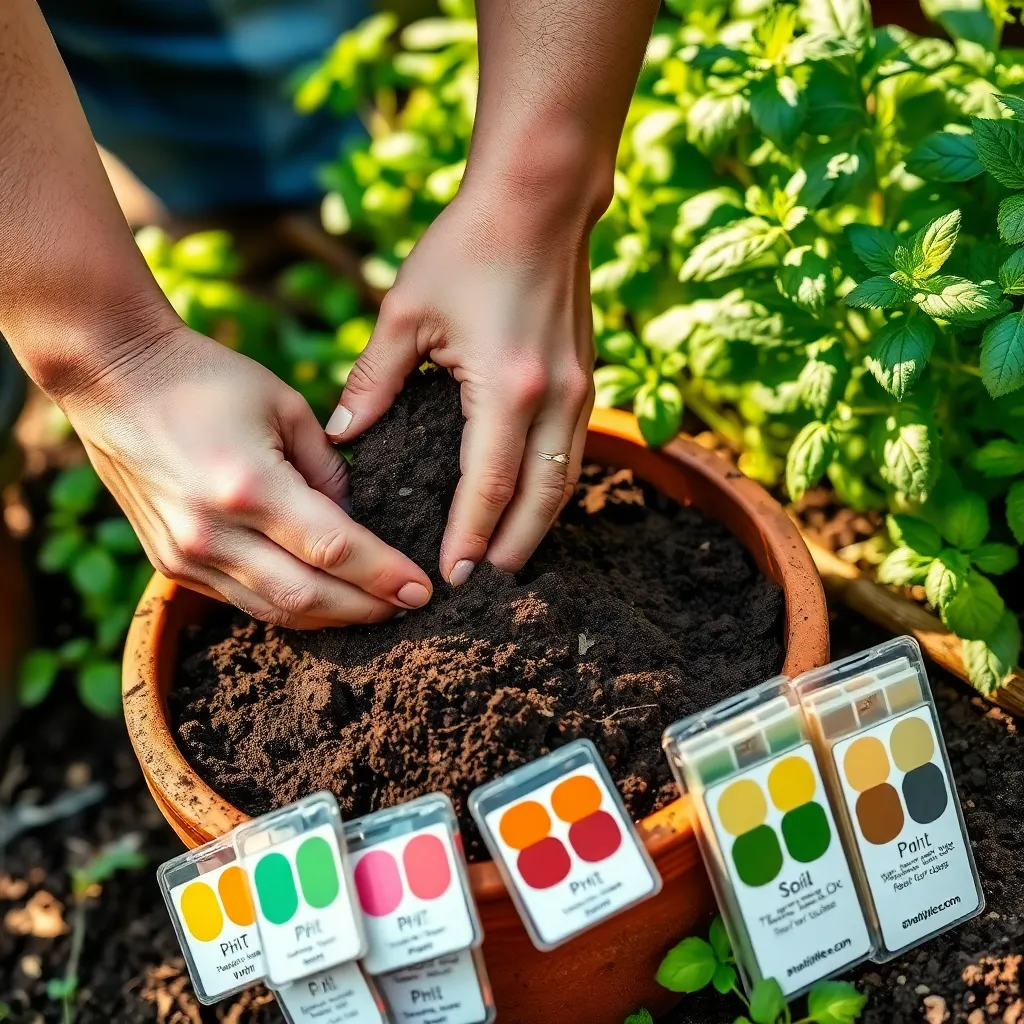
Understanding the pH level of your soil is crucial for the health of your plants, as it affects nutrient availability. To test your soil pH, you can purchase a simple home testing kit from any garden center, which will guide you step-by-step.
Once you’ve acquired a test kit, follow the instructions carefully to get an accurate reading. Most plants thrive in soil with a pH level between 6.0 and 7.5, but there are exceptions like blueberries and azaleas that prefer more acidic conditions.
To adjust soil pH, consider adding lime to raise the pH or sulfur to lower it, based on your test results. Remember, changes in pH can take time, so it’s best to amend the soil several months before planting.
For those looking for a more advanced approach, consider sending a soil sample to a local extension service for a comprehensive analysis. This can provide detailed information not just on pH, but also on nutrient levels and soil composition.
Clear Existing Weeds and Debris
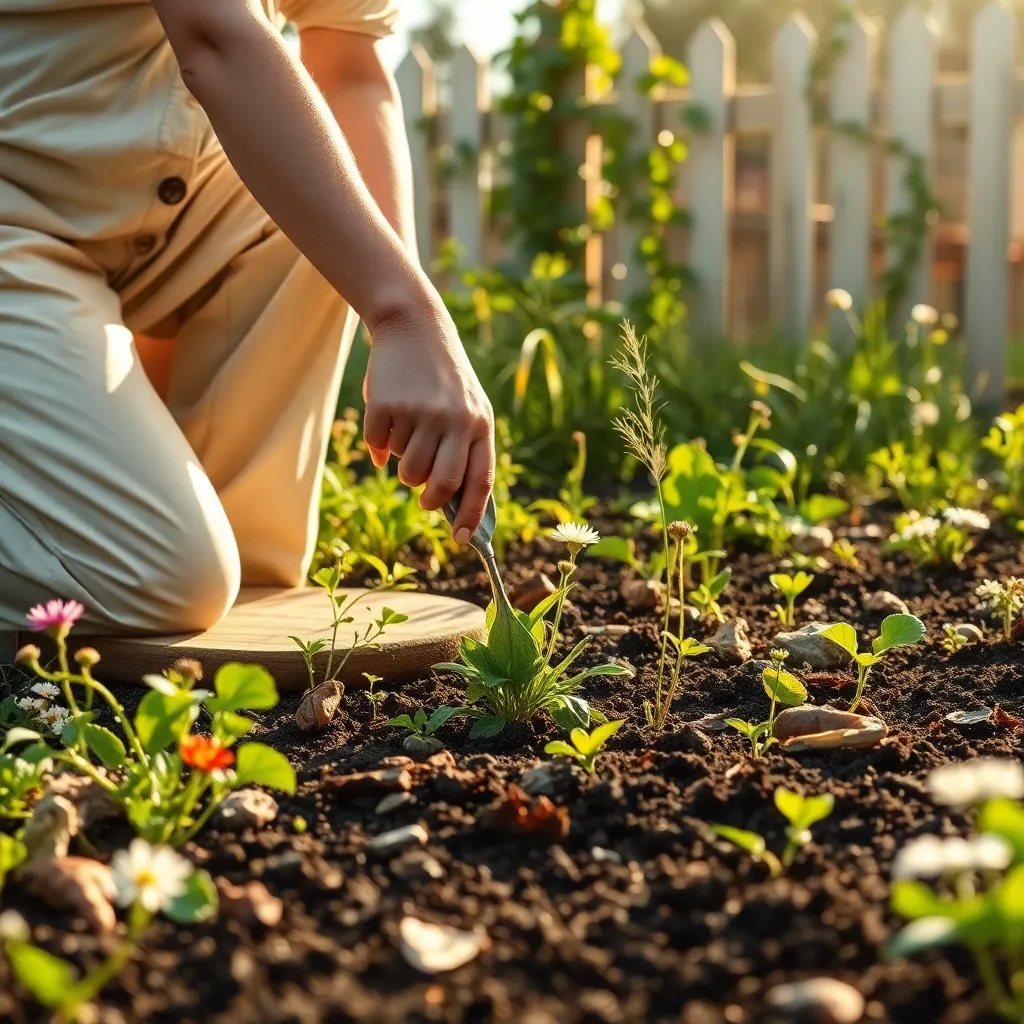
Before you begin planting, it’s crucial to clear existing weeds and debris from your garden. Weeds compete with your plants for nutrients, water, and sunlight, so removing them is essential for healthy plant growth.
Start by pulling up weeds by hand, ensuring you remove the entire root to prevent regrowth. For larger areas, consider using a hoe or a garden fork to loosen and lift weeds from the soil.
It’s not just weeds that need attention—debris like fallen leaves and twigs should also be cleared away. These can harbor pests and diseases, which might transfer to your new plants if left unchecked.
For a thorough cleanup, rake the soil surface gently to remove any remaining debris. This step is especially important if you plan to sow seeds directly in the ground, as a clean surface promotes better seed-to-soil contact.
Consider adding a layer of organic mulch after weeding to suppress new weed growth. Mulch not only controls weeds but also helps retain soil moisture and can improve soil fertility over time.
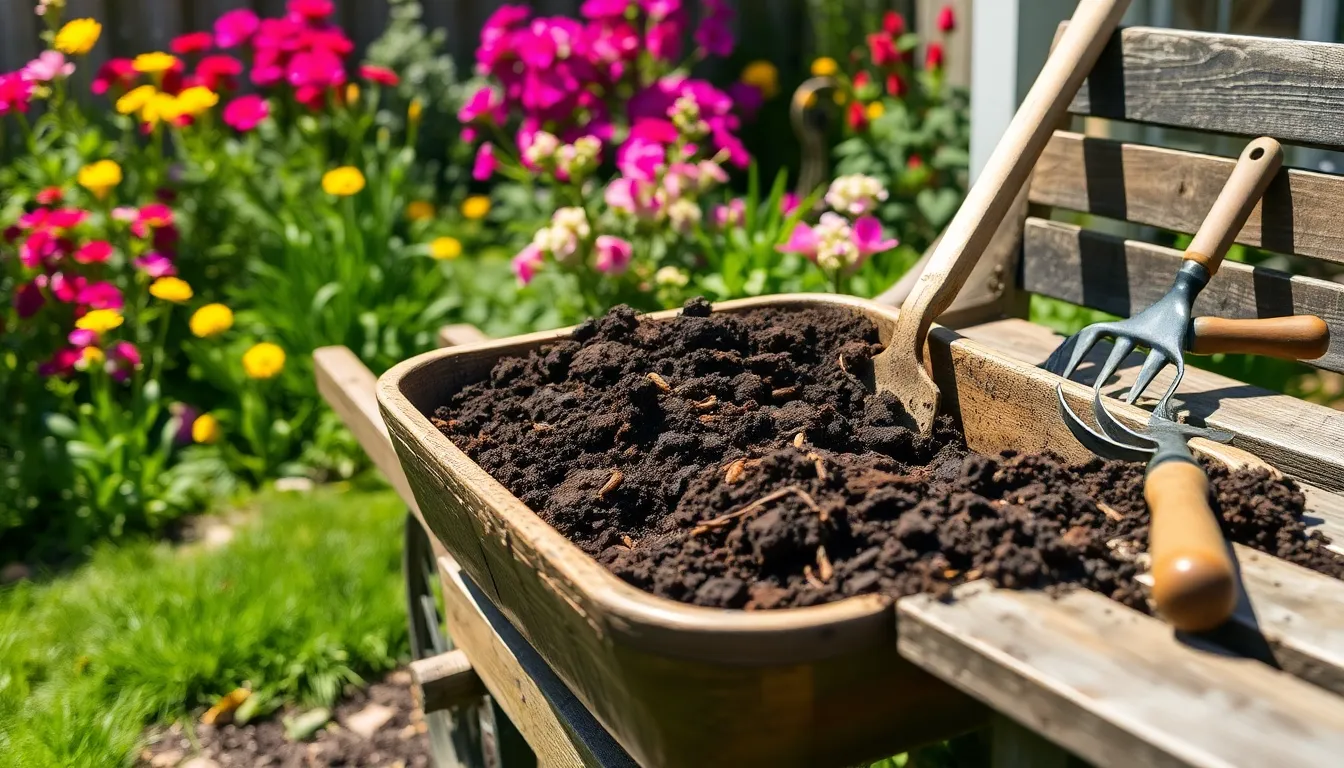
Amend Soil with Organic Matter
After clearing weeds and debris, it’s time to enrich your soil by amending it with organic matter. This step is crucial because organic matter improves soil structure, enhances water retention, and provides essential nutrients.
Begin by choosing the right type of organic matter for your soil. Common options include compost, well-rotted manure, and leaf mold, each offering different benefits based on your soil’s needs.
Incorporate organic matter by spreading a 2 to 3-inch layer over the soil surface. Use a garden fork or tiller to mix it into the top 6 to 8 inches of soil, ensuring even distribution for optimal plant growth.
For gardeners dealing with clay soil, adding organic matter can significantly improve drainage and aeration. Conversely, if you’re working with sandy soil, organic matter helps retain moisture and nutrients, creating a more balanced growing environment.
Advanced gardeners might consider using green manure crops, such as clover or vetch, which can be grown and then tilled into the soil to add nutrients naturally. Remember, amending soil is an ongoing process, so replenish organic matter each season to keep your garden thriving.
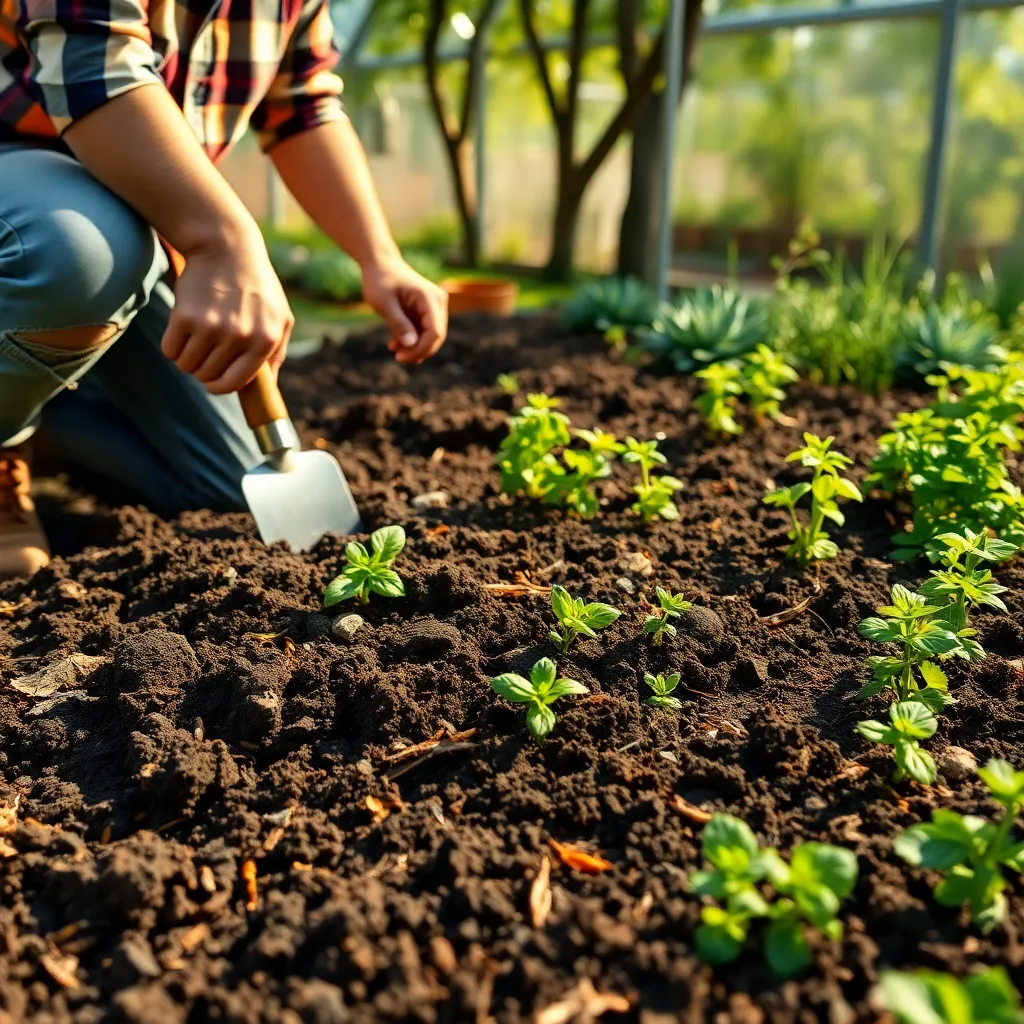
Loosen Soil with a Garden Fork
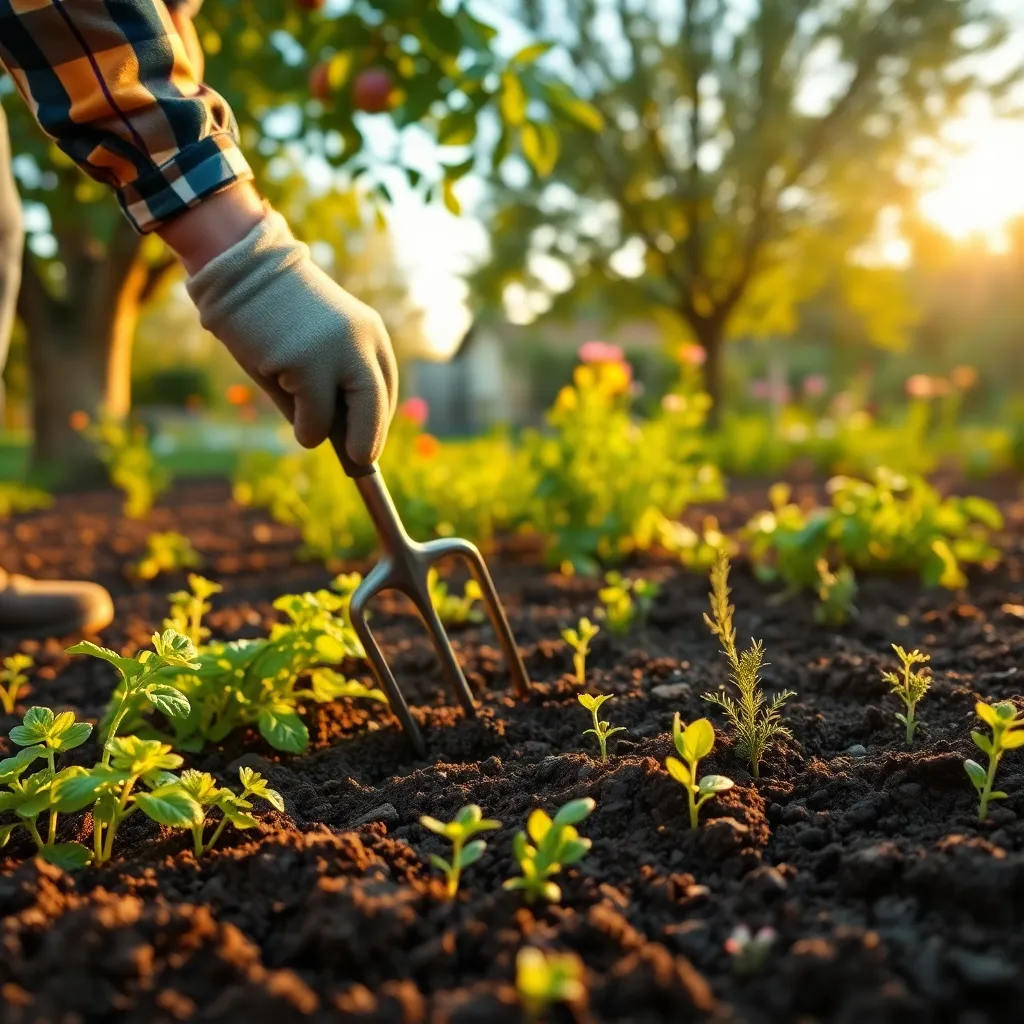
After amending the soil with organic matter, it’s crucial to loosen it for better aeration and root penetration. Using a garden fork is an effective way to achieve this, as it allows you to gently lift and break up compacted soil without disturbing the beneficial organisms within.
To begin, insert the garden fork into the soil at a slight angle, about 6 to 8 inches deep, depending on your garden’s needs. Working in sections, gently rock the fork back and forth to loosen the soil, moving from one end of your garden plot to the other.
It’s important to avoid overworking the soil, as this can damage its structure and lead to compaction issues later on. Focus on creating a crumbly texture where roots can easily spread, ensuring the soil is not too fine or powdery.
For those dealing with heavy clay soils, consider repeating this process several times throughout the growing season to gradually improve soil structure. Additionally, incorporate sand or fine gravel to enhance drainage and prevent waterlogging, which can be detrimental to plant health.
Level Surface for Planting Beds
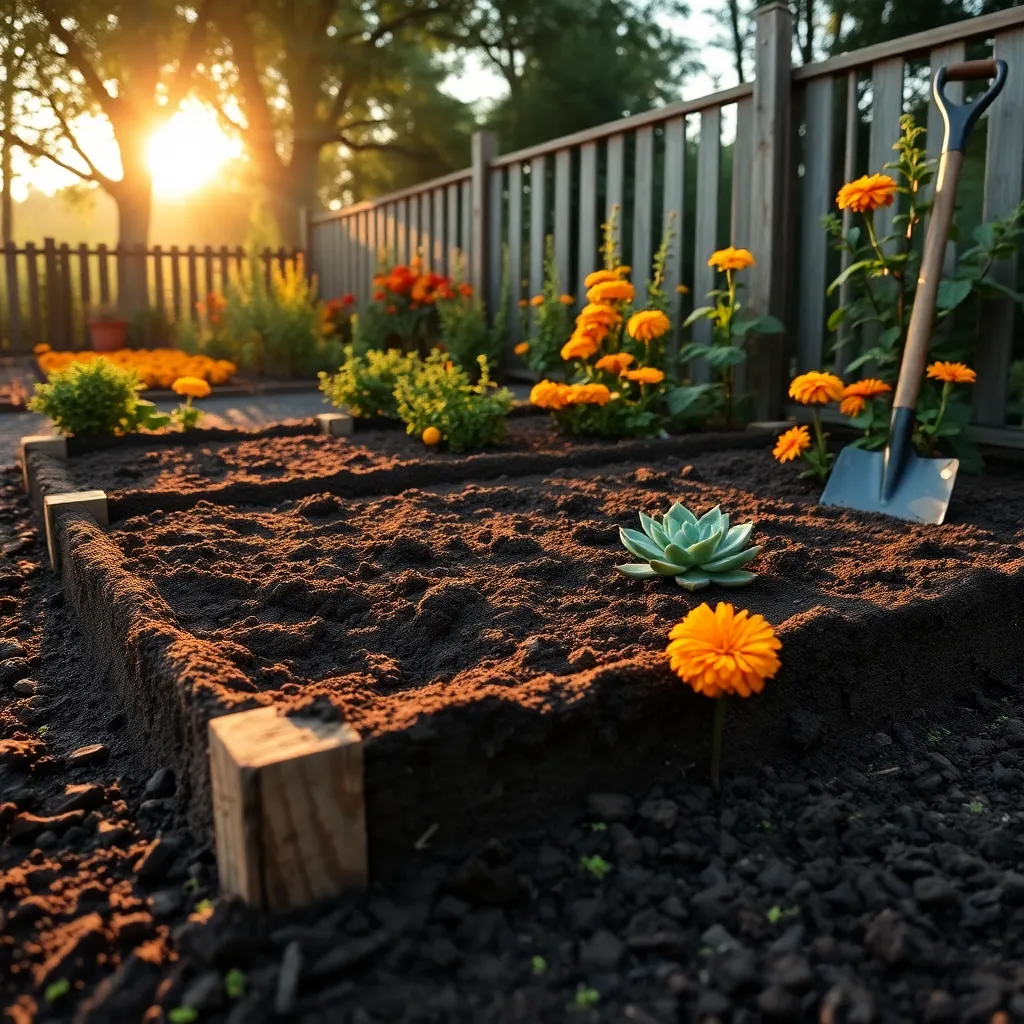
After loosening the soil, it’s crucial to ensure your planting beds are level. A level surface promotes even water distribution, which is essential for the healthy growth of plants. Start by using a rake to smooth out the soil, removing any high spots or filling in low areas. This will help create a consistent planting depth, which is particularly important for seeds and young plants.
Before planting, check the level of your soil with a simple carpenter’s level or a homemade tool. Stretch a string tightly across the bed, and place the level on top to ensure evenness across the entire surface. If you’re working with sloped ground, consider creating terraced beds to prevent soil erosion and manage water flow effectively.
Advanced gardeners may opt to incorporate a slight slope for better drainage, especially in areas with heavy rainfall. A gentle gradient of 1-2% can help excess water drain away from plant roots, reducing the risk of root rot. It’s also beneficial to add a layer of mulch after leveling to conserve moisture and suppress weeds.
For beginners, understanding the importance of a level surface can significantly impact the success of their garden. This simple preparation step can make maintenance easier and improve plant health. By taking the time to level your planting beds, you’re setting the stage for a thriving garden that’s easier to care for throughout the growing season.
Conclusion: Growing Success with These Plants
As we journeyed through the nurturing process of preparing soil for planting, we uncovered five essential relationship concepts: understanding your soil type, ensuring nutrient balance, maintaining proper moisture, eliminating weeds, and fostering a protective environment. These steps mirror the foundational elements of a flourishing relationship—recognizing and respecting individual differences, nourishing each other’s needs, maintaining healthy communication, removing toxic influences, and creating a safe, supportive space for growth.
Now, take an actionable step: pick one of these concepts to focus on in your relationship this week. Whether it’s enhancing communication or fostering a supportive environment, small, consistent efforts can yield transformative results.
Remember, relationships, much like gardens, require ongoing care and attention. Bookmark this article as a go-to guide for nurturing your relationship, ensuring you have a ready reference to keep your partnership thriving.
With dedication and mindful effort, your relationship can blossom into a source of joy and resilience. Embrace the journey ahead, armed with these insights, and watch your connection grow stronger and more fulfilling. Save this article to revisit these principles and keep your love garden flourishing.