
There’s nothing quite like the timeless elegance of a rose bush in full bloom, gracing your garden with its vibrant colors and intoxicating fragrance. Both novice gardeners and seasoned green thumbs can appreciate the art of rose care, yet many find themselves uncertain about the crucial task of pruning. Pruning may seem daunting, but it is an essential practice that breathes new life into your roses, ensuring they remain healthy, shapely, and prolific bloomers.
In this guide, we’ll unlock the secrets to effective rose bush pruning, taking you step-by-step through the process with clear, actionable advice. You’ll discover when and how to prune your roses to encourage stronger growth, more abundant flowers, and the overall vitality of your plants. Whether you’re nurturing your first rose bush or refining your pruning skills, this article is designed to empower you with the knowledge and confidence to transform your garden into a lush, floral haven.
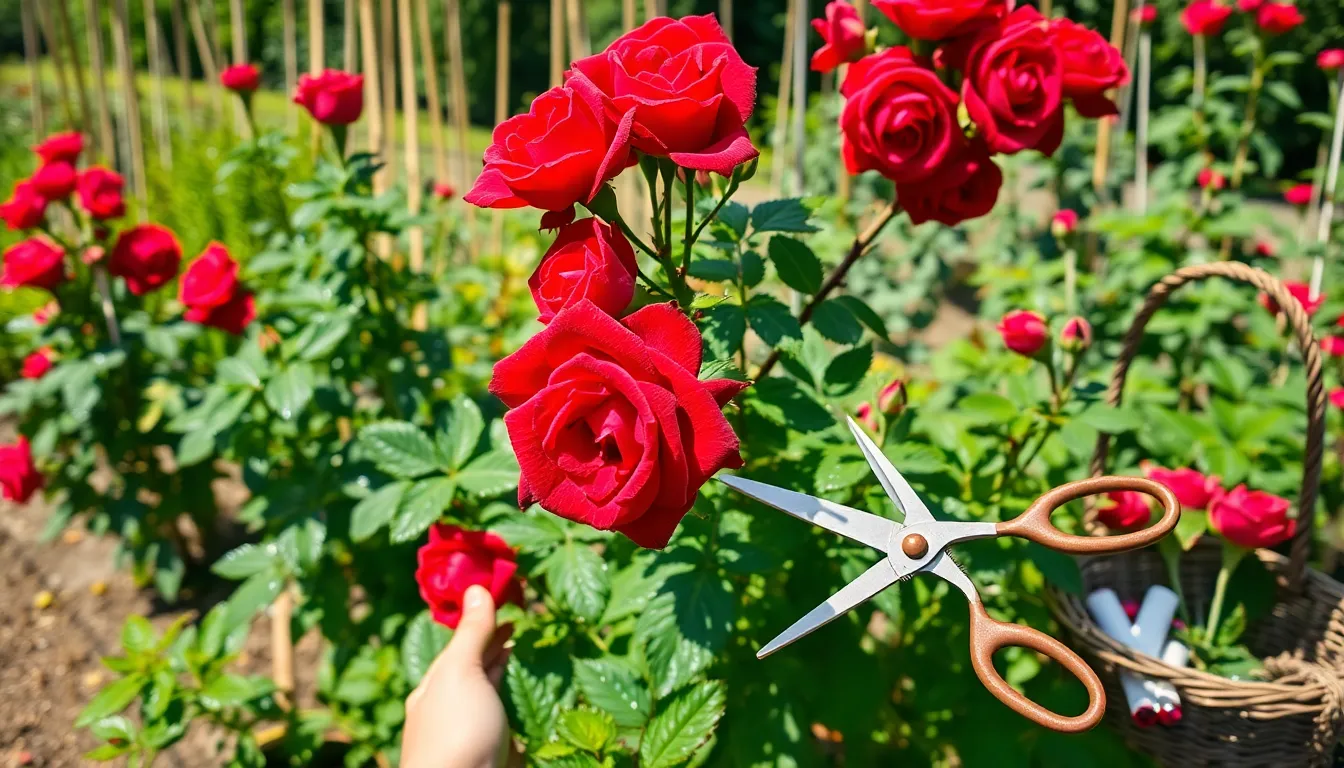
Gather Necessary Pruning Tools
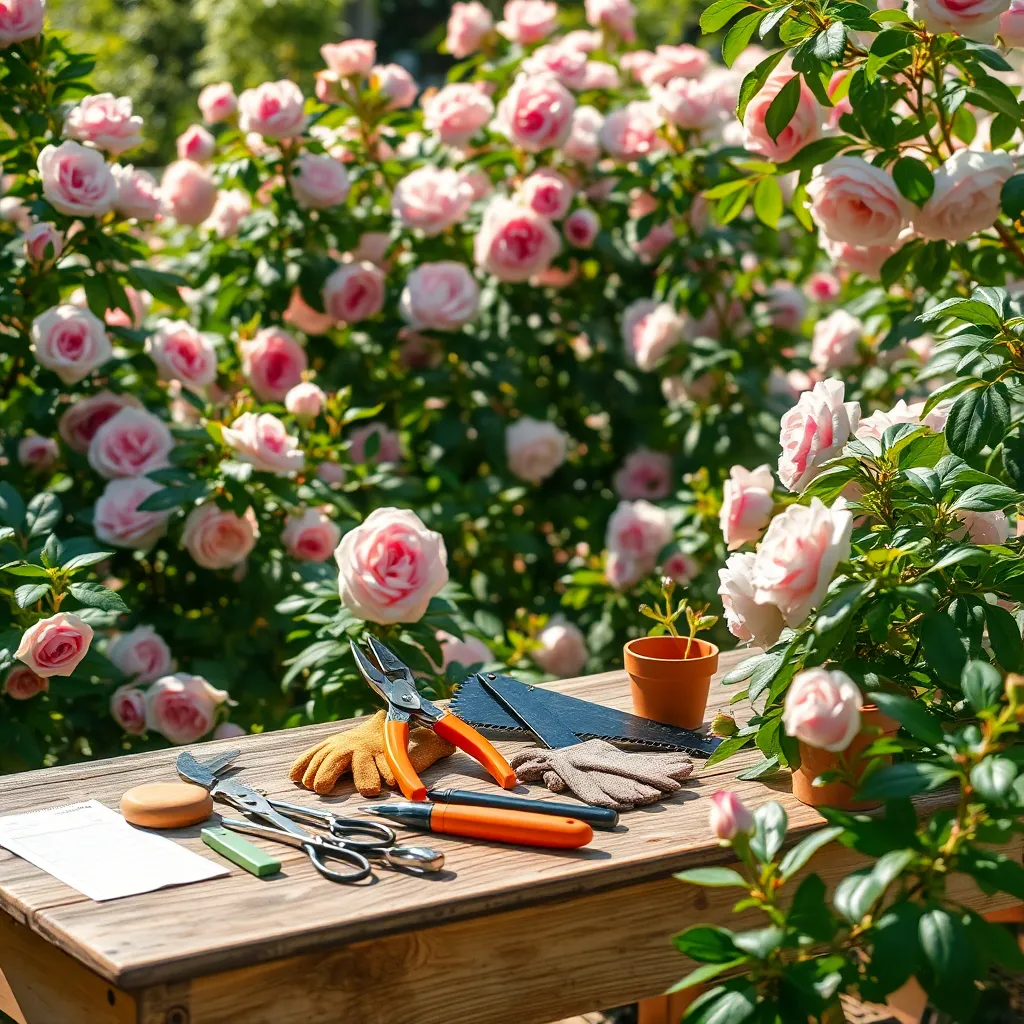
Before you start pruning your rose bushes, it’s essential to gather the right tools. Having the proper tools ensures clean cuts and healthy regrowth, which are crucial for your rose bushes’ health.
A pair of sharp bypass pruners is a fundamental tool for any rose gardener. These pruners allow you to make precise cuts, minimizing damage to the plant and reducing the risk of disease.
For thicker branches, consider using loppers, which provide more leverage and cutting power. Loppers are ideal for removing old or damaged canes, which can improve air circulation and sunlight penetration.
Having a pair of gardening gloves is highly recommended to protect your hands from thorns. Choose gloves that are both durable and flexible, allowing for ease of movement while providing ample protection.
Identify Damaged or Dead Canes
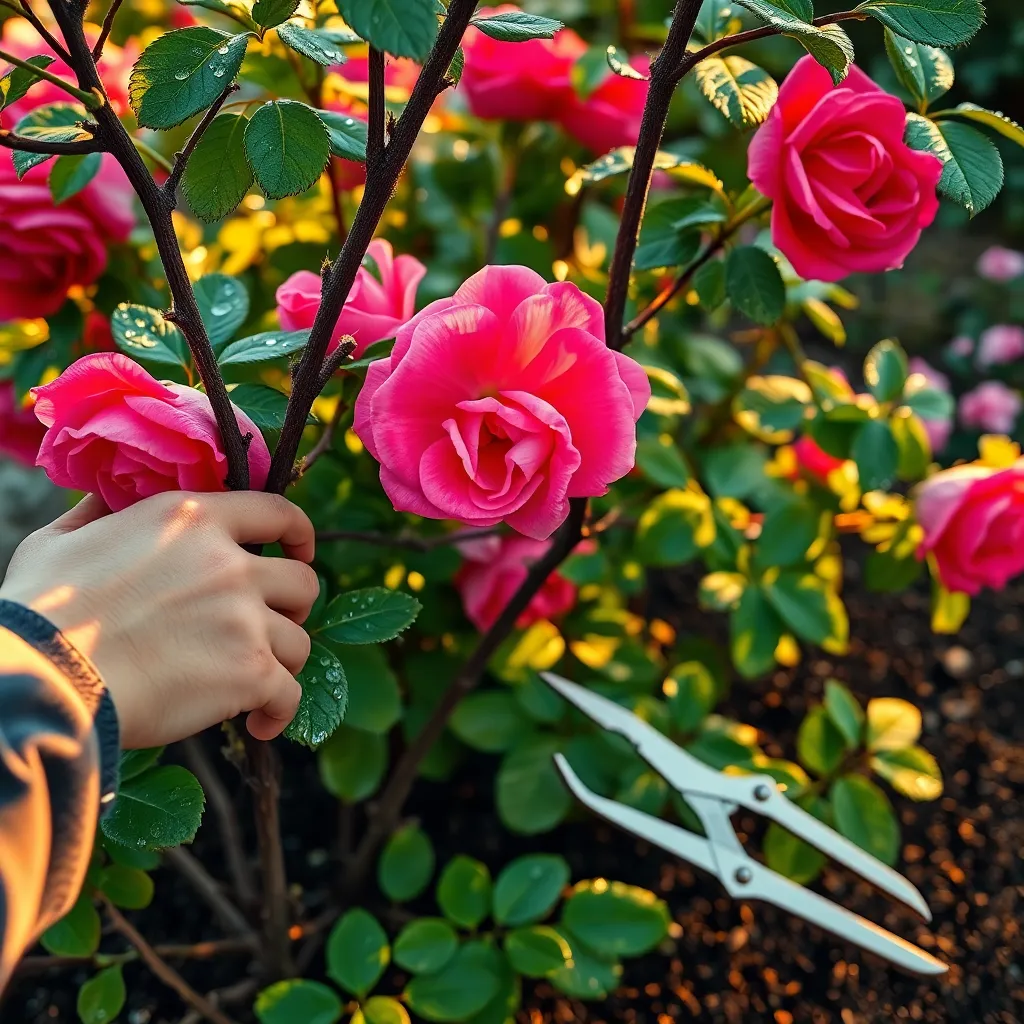
After gathering your pruning tools, the next step is to identify damaged or dead canes on your rose bush. These canes are often brittle, discolored, or show no signs of growth, indicating a lack of vitality. Look for canes that appear brown or black instead of the healthy green or red hues. Such canes are not contributing to your rose bush’s health and are prime candidates for removal.
Begin by examining the base of each cane, as damage often starts there and spreads upwards. Pay close attention to any canes that feel hollow or have peeling bark. Dead canes often have no buds or leaves, making them easier to spot in the spring when healthy growth resumes. By removing these canes, you ensure the plant’s energy is directed towards producing vibrant blooms.
Once you identify the damaged or dead canes, use sharp pruning shears to cut them at the base. Ensure your cuts are clean and angled slightly, which helps prevent water from settling on the cut surface and causing rot. For thicker or woody canes, consider using loppers for a more effective cut. Removing these unhealthy canes will improve air circulation within the bush, reducing the risk of disease.
For those looking to refine their pruning technique, consider cutting back to a healthy bud, which should face outward. This encourages new growth to spread away from the center of the bush, promoting a more open structure. Regularly inspect your rose bushes for any new signs of damage or disease, especially after heavy rains or strong winds. Keeping on top of this maintenance will ensure your rose bushes thrive season after season.
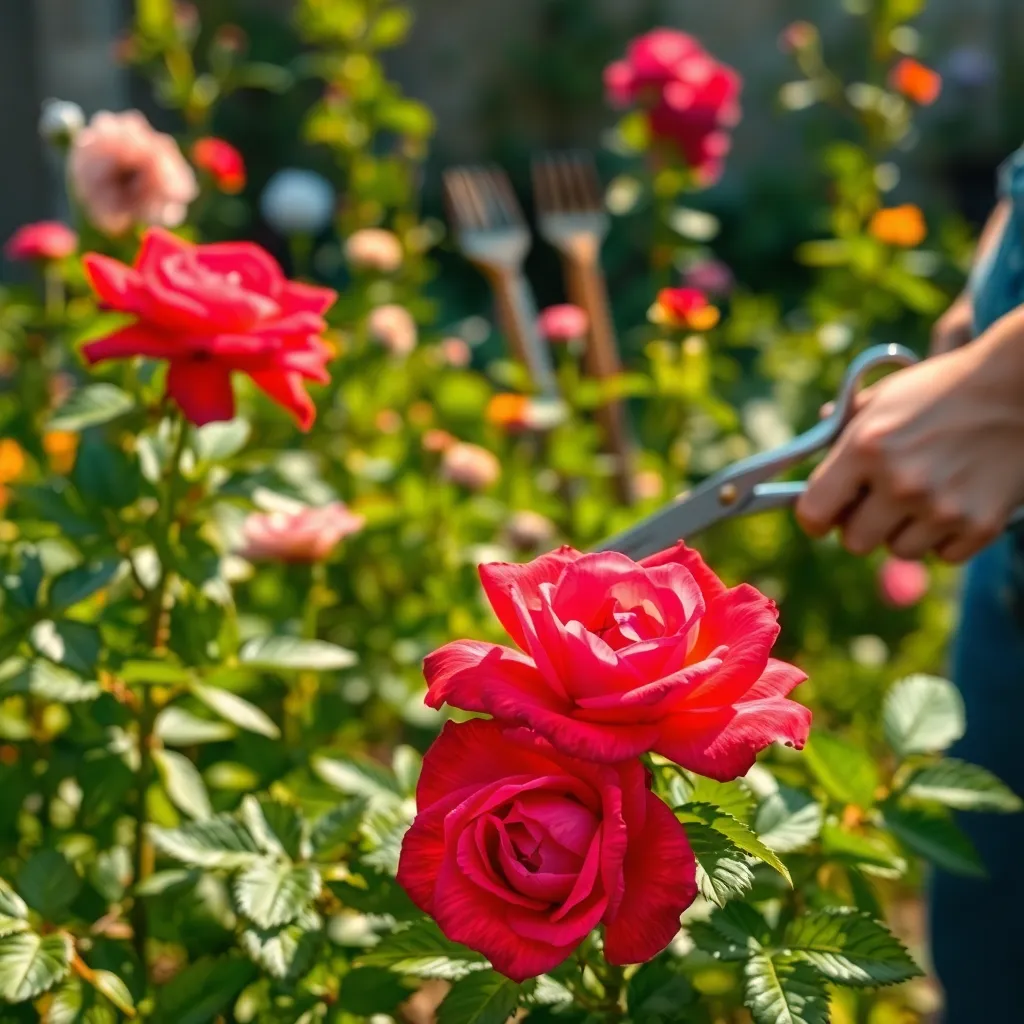
Cut Above Outward-Facing Bud
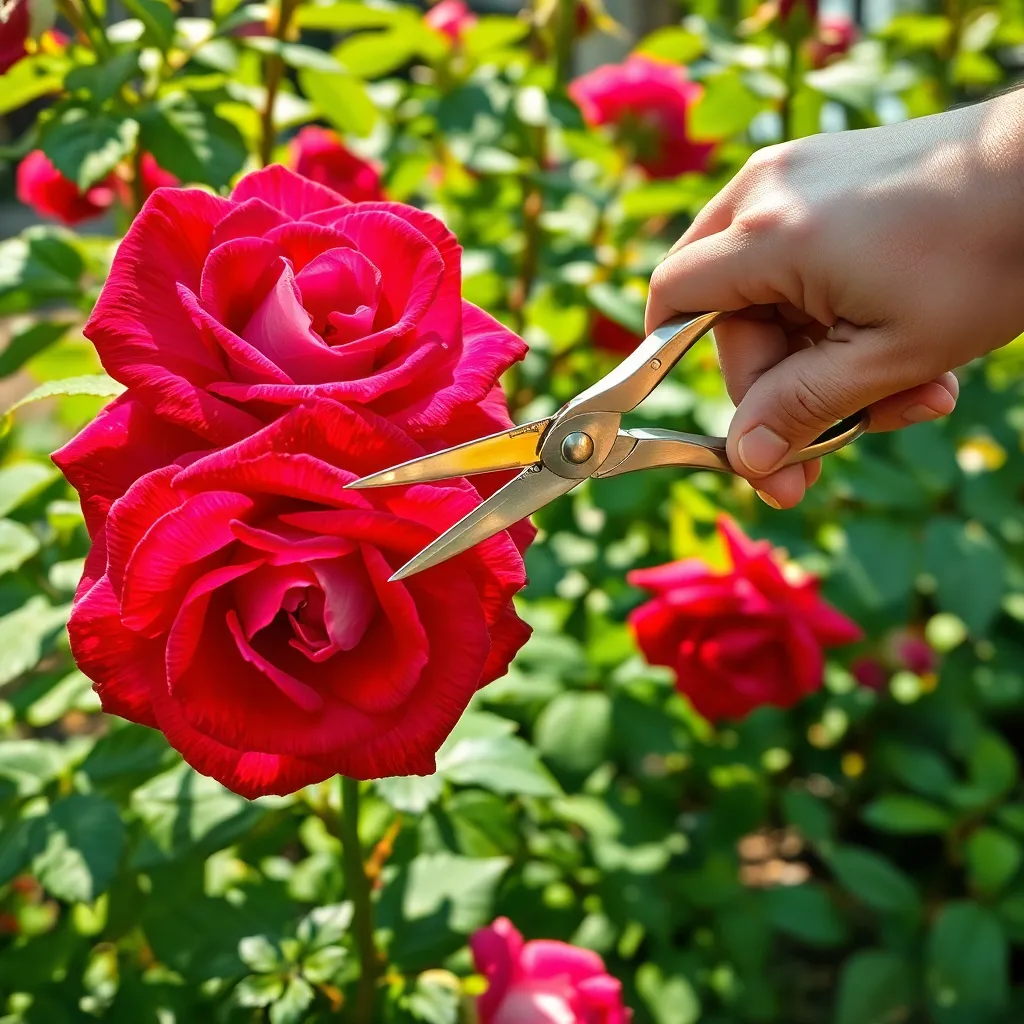
When pruning rose bushes, it’s essential to cut just above an outward-facing bud. This encourages the new growth to spread outward, promoting a well-shaped bush.
Using sharp, clean pruning shears ensures a clean cut, which reduces the chances of disease. Position your cut at a 45-degree angle, sloping away from the bud to allow water to run off smoothly.
For beginners, it’s helpful to identify the buds by looking for the small, green, and slightly swollen points along the cane. More experienced gardeners might notice that choosing a bud facing outward helps prevent the bush from becoming too dense in the center.
After cutting, you might see a reddish tinge on the inside of the cane; this indicates healthy tissue. In contrast, if the cane’s core is brown or black, consider cutting back further until you reach fresh, white wood.
If you’re growing your roses in sandy soil, be aware that they might require more frequent watering to thrive. However, ensure that the soil is well-drained to prevent root rot, which can be particularly problematic in clay-heavy soils.
Advanced gardeners often mulch around the base of the rose bush after pruning. This practice helps retain moisture, suppress weeds, and slowly adds nutrients back to the soil as the mulch breaks down.
Trim to Shape and Size
When shaping your rose bushes, start by removing any dead or damaged wood. This not only improves the plant’s appearance but also encourages healthy growth by allowing more sunlight and air circulation.
Next, look for stems that cross or rub against each other. These can cause wounds and invite disease, so it’s best to prune them to maintain a clean structure.
For those wanting a neat and compact rose bush, trim back long stems to your desired height. Use sharp pruners to make clean cuts, which help the plant heal faster and reduce the risk of disease.
If you’re aiming for a specific shape, consider the natural growth habit of your rose variety. Some roses have a more upright form, while others spread wide, so adjust your pruning technique accordingly.
Dispose of Pruned Material Properly
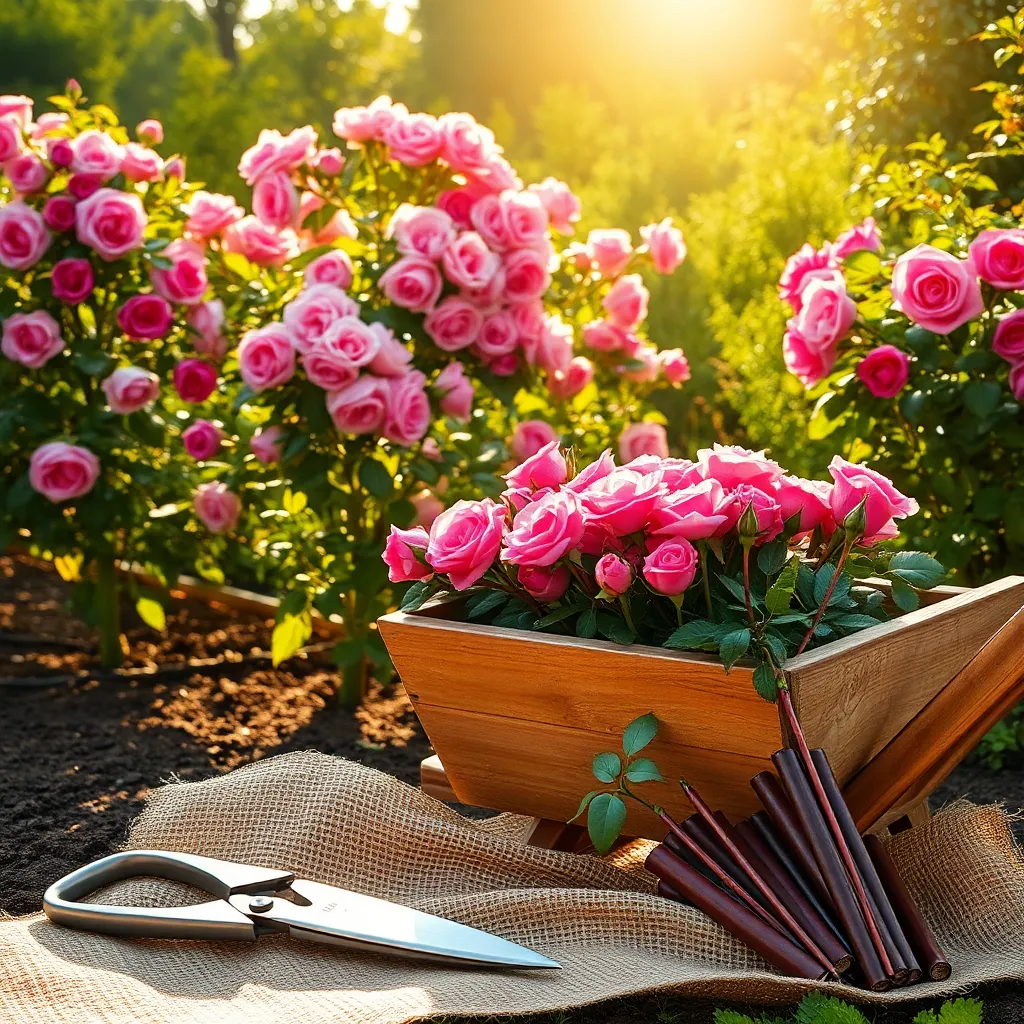
Proper disposal of pruned material is essential to maintain the health of your rose bushes and the overall garden environment. Leaving pruned debris around can attract pests and harbor diseases that might affect your plants.
Start by gathering all the pruned branches and leaves immediately after trimming. It’s important to avoid leaving any plant debris on the ground, as this can create a breeding ground for fungi and insects.
For a basic approach, use a garden waste bag or bin to collect the pruned material. Ensure that the bin is covered to prevent the spread of any potential diseases.
If you’re looking to be more sustainable, consider creating a compost pile with your pruned material. Chop the branches into smaller pieces to speed up the decomposition process and ensure they break down effectively.
Advanced gardeners might also opt for a mulching technique using healthy pruned material. Ensure the material is disease-free, and then shred it finely before spreading it around your garden beds as mulch.
Remember to clean your pruning tools with a solution of one part bleach to nine parts water after use. This step helps prevent the transfer of diseases between plants, ensuring your garden remains healthy and thriving.
Conclusion: Growing Success with These Plants
In nurturing your relationship, much like tending to a rose bush, understanding the essentials can lead to flourishing connections. This guide has walked you through five key concepts: recognizing the importance of regular maintenance, understanding each other’s growth needs, learning to prune away unhealthy patterns, fostering a supportive environment, and celebrating each other’s blooming potentials. By embracing these principles, you’re equipped to cultivate a relationship that not only survives but thrives.
As a practical next step, initiate an open conversation with your partner today to identify areas in your relationship that need nurturing or pruning. This dialogue can be a powerful tool in strengthening your bond and aligning your growth paths.
Remember, every relationship has the potential to blossom beautifully with the right care and attention. Bookmark this article to revisit these insights whenever you need a refresher or encouragement. Taking the time to invest in your relationship today sets the stage for a more fulfilling and resilient partnership tomorrow. Your journey to relationship success begins now, and with dedication, your love can thrive like a well-tended rose bush.