
Gardening is a journey, a dance with nature that allows us to nurture life from the soil up, and at the heart of this dance is the use of organic fertilizer. Whether you’re just beginning to explore the wonders of gardening or you’re a seasoned green thumb, understanding how to create your own organic fertilizer is a skill that can transform your garden into a vibrant, thriving oasis. This guide is here to help you unlock the secrets to making your own nutrient-rich fertilizer, promising healthier plants and a more sustainable gardening practice.
The beauty of crafting your own fertilizer lies not just in its environmental benefits but also in the empowerment it brings to every gardener, regardless of experience. You’ll learn how to turn everyday kitchen scraps, garden waste, and other natural materials into a powerhouse of nourishment for your plants. By the end of this guide, you’ll be equipped with the knowledge to enhance your garden’s fertility while reducing waste, making your gardening endeavors both eco-friendly and rewarding. Let’s dig in together and cultivate a deeper connection with the earth through the art of organic fertilization.
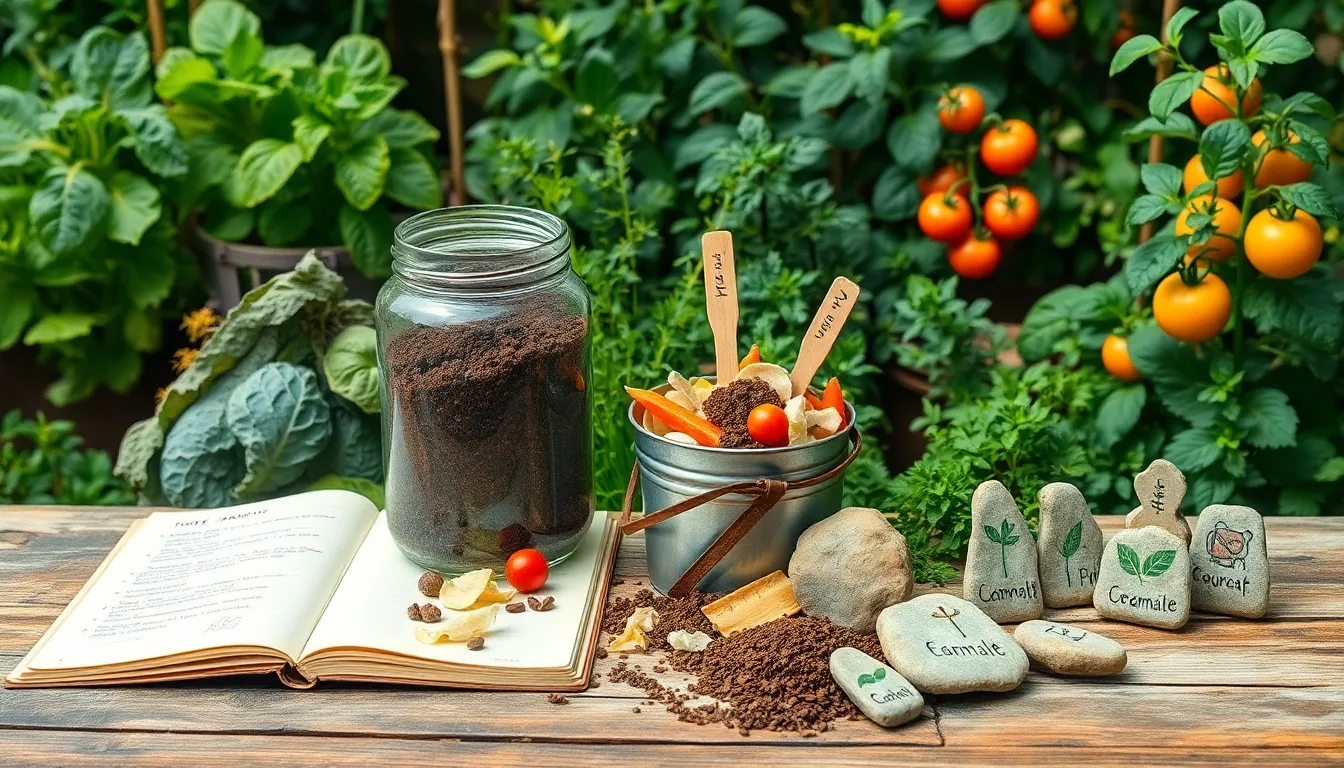
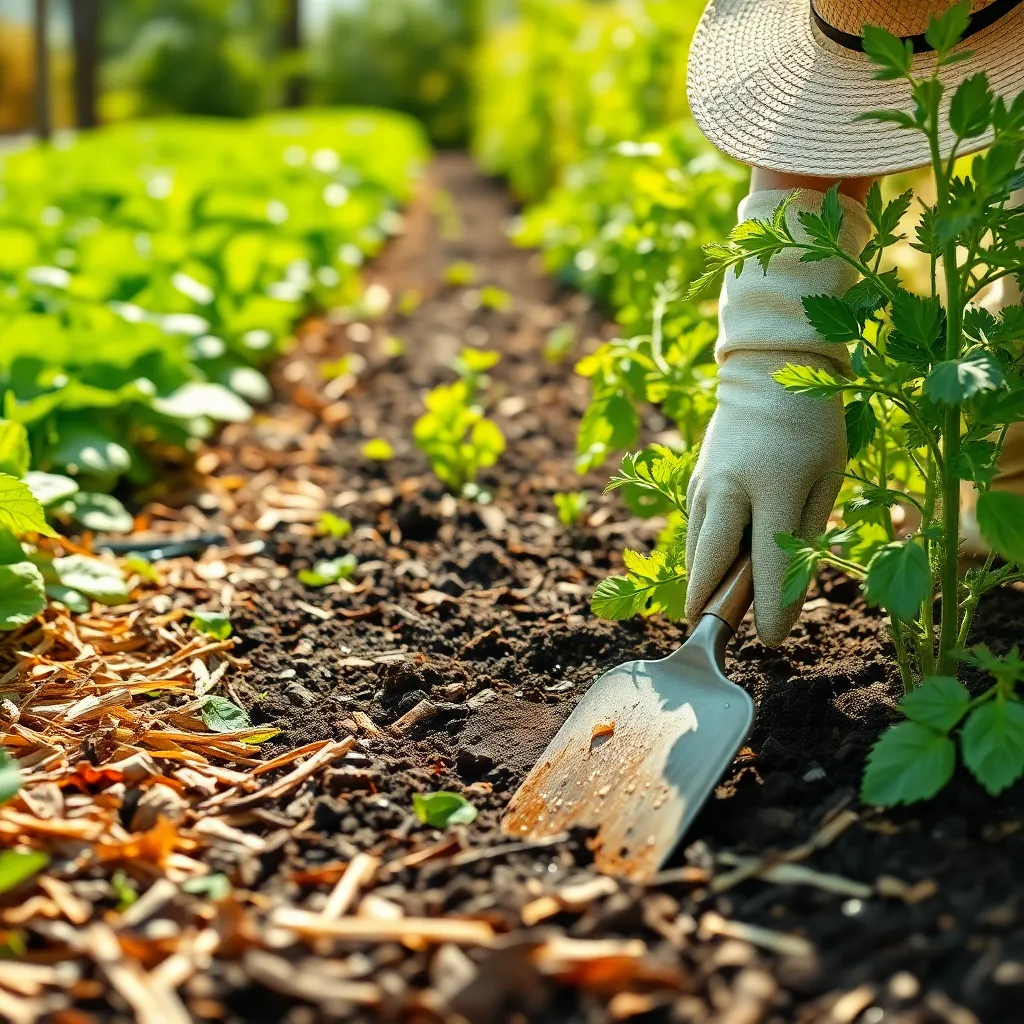
Collect Organic Waste Materials
To make organic fertilizer, start by collecting a variety of organic waste materials from your kitchen and garden. These can include fruit and vegetable scraps, coffee grounds, eggshells, and grass clippings, which are all rich in nutrients.
Mixing different types of organic waste is essential to create a balanced fertilizer. For a successful compost, aim for a mixture of about 50% green materials like vegetable scraps and grass, and 50% brown materials like dried leaves and small twigs.
Consider setting up a compost bin or pile in a sunny spot in your backyard. This location will help maintain the warmth needed for the composting process, which speeds up the breakdown of materials into nutrient-rich compost.
As you add organic materials, make sure to chop them into smaller pieces, as this will accelerate decomposition. Turn the compost pile every few weeks using a pitchfork to aerate it and maintain an even breakdown of materials.
Chop and Mix Ingredients Evenly
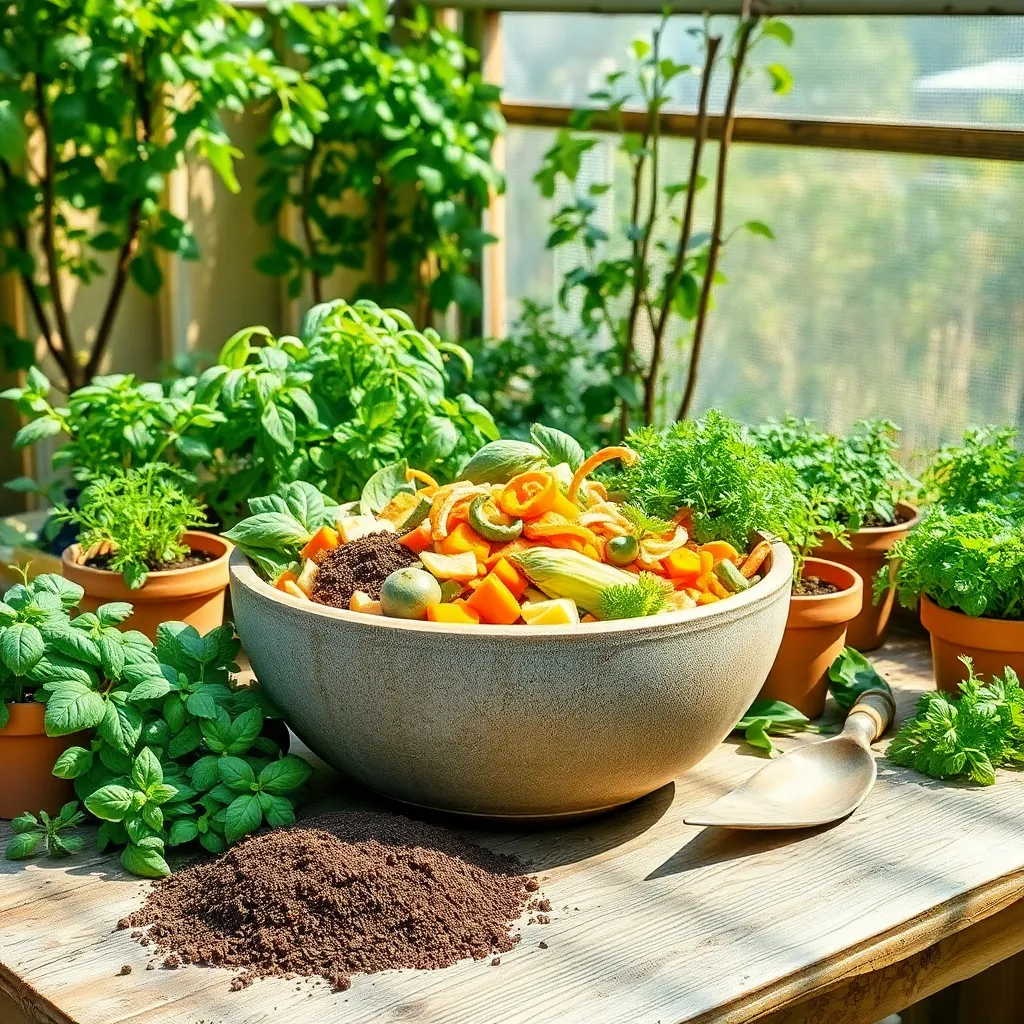
Once you’ve collected your organic waste materials, the next step is to chop them into smaller pieces. This increases the surface area, allowing microorganisms to break them down more efficiently, leading to faster composting.
Use a sharp garden knife or a pair of shears to cut your materials into pieces no larger than an inch. This is particularly important for tougher materials like corn cobs or woody stems, which take longer to decompose.
Equally important is mixing the ingredients evenly to ensure a balanced breakdown. Aim for a blend of green materials, which are rich in nitrogen, and brown materials, which provide carbon for the composting process.
For beginners, a simple rule of thumb is to use two parts brown materials, such as dried leaves or straw, to one part green materials, like vegetable scraps or grass clippings. This ratio helps maintain a healthy compost pile, preventing it from becoming too soggy or too dry.
Advanced gardeners can experiment by adjusting this ratio based on their specific climate and available materials. Regularly turning your compost pile with a pitchfork will aerate the mix, encouraging microbial activity and speeding up decomposition.
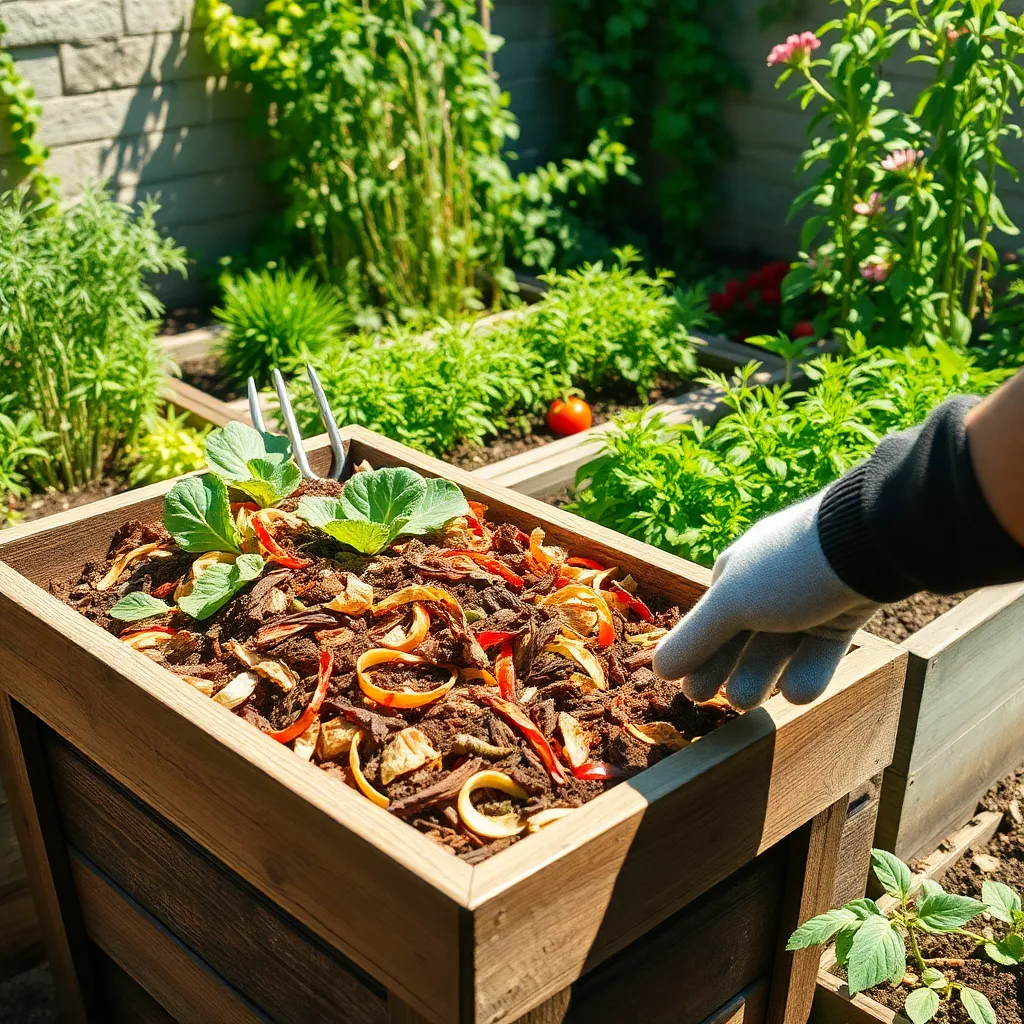
Layer Materials for Composting
After chopping and mixing your compost ingredients evenly, the next step is to layer them properly. Begin with a base layer of coarse materials like small branches or straw to aid in aeration and drainage, ensuring that air circulates through the pile.
Following the base, alternate between layers of “green” materials, such as grass clippings and kitchen scraps, and “brown” materials like dried leaves and newspaper. This balance of green and brown materials is crucial as it provides the right mix of nitrogen and carbon, which are essential for microbial activity.
It is important to maintain a ratio of approximately two parts brown to one part green to optimize decomposition. Experienced gardeners often add a thin layer of garden soil or finished compost between layers, as this can introduce beneficial microbes that accelerate the composting process.
Ensure each layer is no more than a few inches thick to allow for adequate aeration and moisture absorption. As you build your compost pile, periodically check the moisture level; it should be as damp as a wrung-out sponge to support the microbial activity without becoming waterlogged.
Maintain Moisture and Aeration
To maintain optimal moisture and aeration in your compost, it’s important to regularly turn the pile. This process helps introduce oxygen and ensures that the microbial activity essential for breaking down organic matter remains vigorous.
Begin by checking the moisture level of your compost; it should feel like a wrung-out sponge. If it’s too dry, lightly water it, but if it’s too wet, add more dry materials like straw or shredded paper to balance it out.
For beginners, using a pitchfork or shovel is a simple way to aerate your compost. Turn your pile once a week to keep the decomposition process moving efficiently and prevent unpleasant odors from forming.
More advanced gardeners might consider using a compost aerator tool for quicker and more thorough mixing. Consistent aeration not only speeds up decomposition but also helps in maintaining a nutrient-rich final product for your garden.
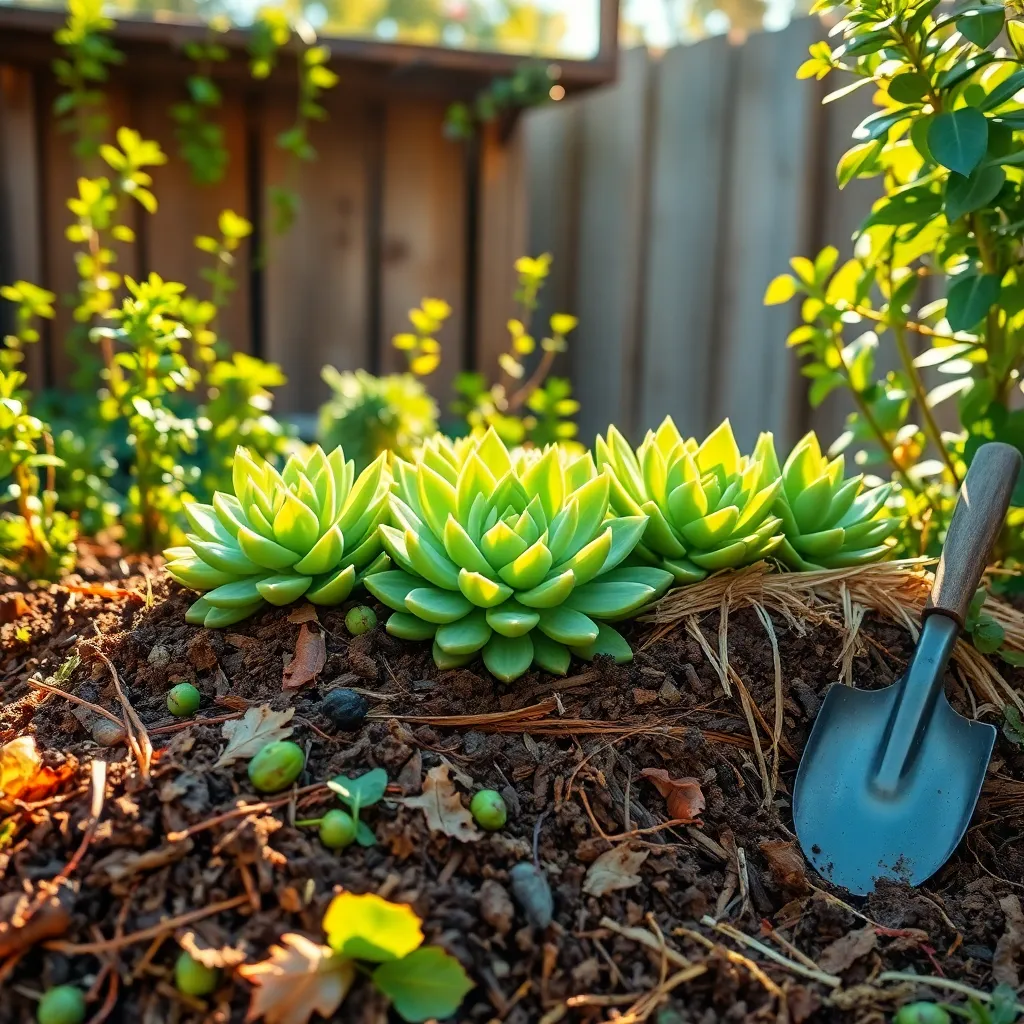
Harvest Finished Fertilizer Product
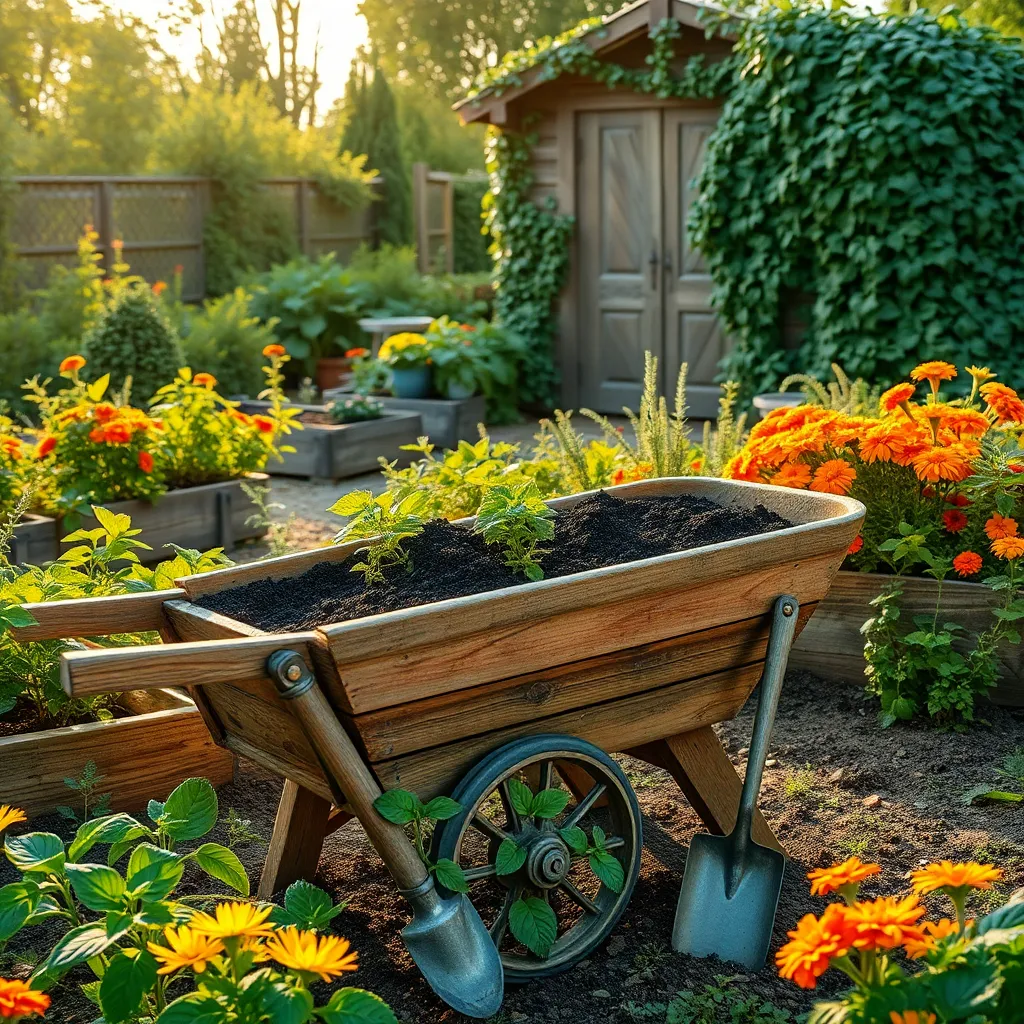
When your compost has fully matured, it’s time to harvest your finished fertilizer product. Look for a rich, dark brown color and a crumbly texture, which are indicators that your compost is ready to use.
To harvest, simply sift the compost using a wire mesh or a compost sieve. This step separates any larger, undecomposed particles that can be returned to the compost pile for further breakdown.
Once harvested, store your finished compost in a dry, cool area until you’re ready to use it in your garden. Storing it properly ensures the nutrients remain available for your plants.
Apply the finished compost directly to your garden beds or use it to enrich potting soil. For garden beds, spread a 2-3 inch layer over the soil surface and gently work it into the top few inches of soil.
For container plants, mix the compost with your regular potting mix at a ratio of 1:3 to provide a nutrient boost. This not only enhances soil structure but also improves moisture retention, benefiting plant growth.
Remember, finished compost is an excellent source of nutrients for a wide range of plants. Whether you’re growing vegetables, flowers, or shrubs, your homemade fertilizer will support robust and healthy growth.
Conclusion: Growing Success with These Plants
In this exploration of cultivating healthy relationships, we delved into five foundational concepts crucial for nurturing connections: understanding the importance of communication, fostering trust through transparency, cultivating empathy, maintaining individuality within a partnership, and the art of compromise. These elements act as the organic fertilizer that enriches the soil of your relationship, allowing it to grow strong and resilient.
To put these insights into action, start with a simple yet impactful step: initiate an open conversation with your partner today about one area you’d like to strengthen together. This dialogue can set the stage for growth and deeper understanding.
Remember, relationship success is a continuous journey, not a destination. By bookmarking this guide, you’ll have a trusty companion to revisit whenever you need guidance in nurturing your relationship garden.
As you move forward, embrace the potential of these principles to enhance your connections, knowing that every effort you make contributes to a thriving, successful relationship. Save this article now as a valuable resource, and let it inspire you to consistently invest in the relationship that matters most.