
Watering your garden efficiently can feel like a daunting task, especially when you’re striving for a lush, vibrant landscape. Enter the drip irrigation system—a marvel of modern gardening that promises to save time, conserve water, and nourish your plants in the most precise manner possible. Whether you’re a novice gardener just beginning to explore the wonders of plant care or a seasoned green thumb looking to optimize your existing setup, understanding how to install a drip irrigation system is a transformative skill worth mastering.
In this beginner’s guide, you’ll embark on a journey to simplify your watering routine and boost the health of your plants. We’ll delve into the nuts and bolts of what makes a drip irrigation system so effective, from selecting the right components to piecing them together in a way that meets your garden’s unique needs. By the end of this article, you’ll not only be equipped with the knowledge to install your own system but also empowered by the confidence that comes from knowing you’re nurturing your garden sustainably.
Assess Your Garden’s Water Needs
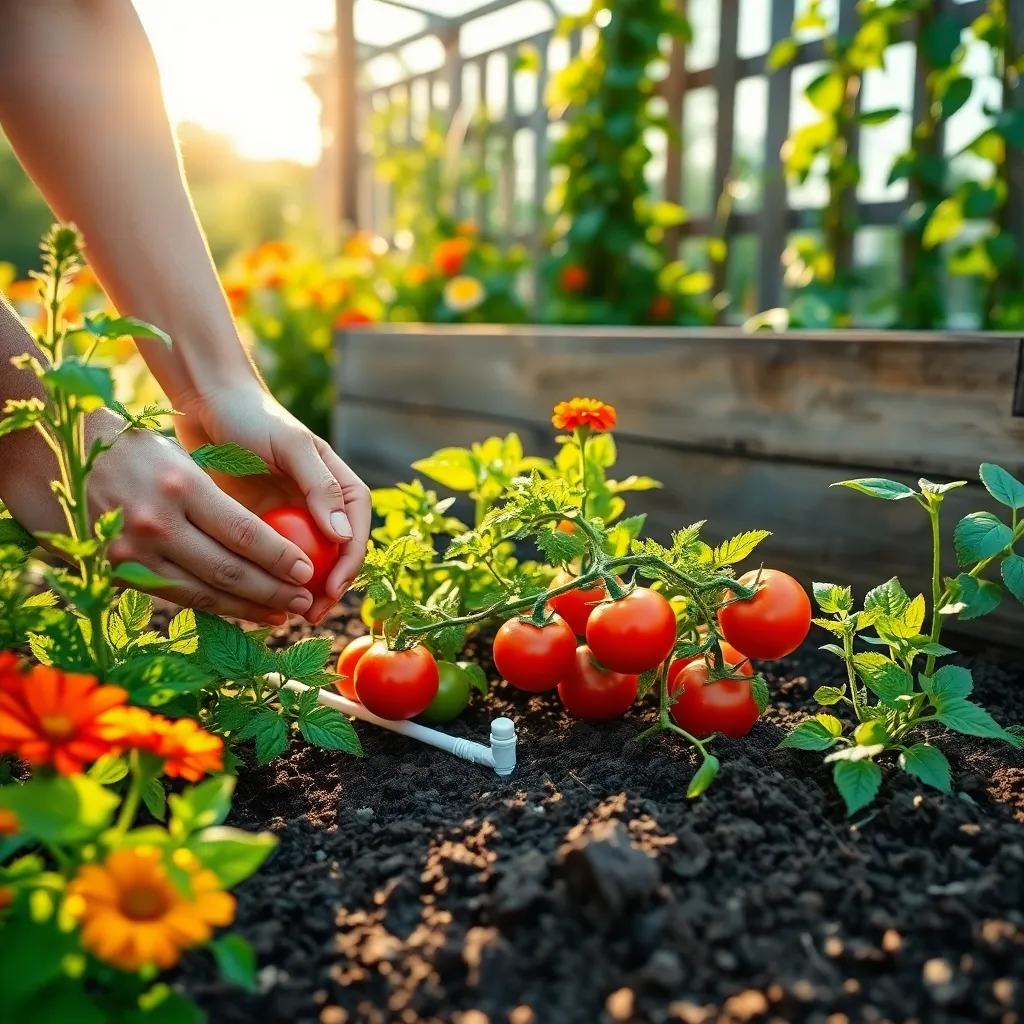
Understanding your garden’s water needs is crucial before installing a drip irrigation system. Start by observing your plants and soil to determine how much water they require.
Diverse plants have different watering needs; for example, succulents require less water than vegetables. Aim to group plants with similar water demands together to streamline your irrigation setup.
Soil type significantly affects water retention and drainage. Clay soil holds water longer, while sandy soil drains quickly, necessitating more frequent watering.
Consider the climate and seasonal variations in your area, as these factors influence watering frequency. During hot, dry periods, your plants may need more water, while rainy seasons naturally reduce the demand.
For beginners, using a moisture meter can help assess the soil’s hydration level and prevent over-watering. More experienced gardeners may prefer to rely on the finger test, inserting a finger into the soil to check moisture at root level.
As an advanced tip, monitor the evaporation rate in your garden, as it can impact how frequently you need to irrigate. Mulching around plants can help retain moisture and reduce evaporation, leading to more efficient water use.
Plan the Irrigation Layout
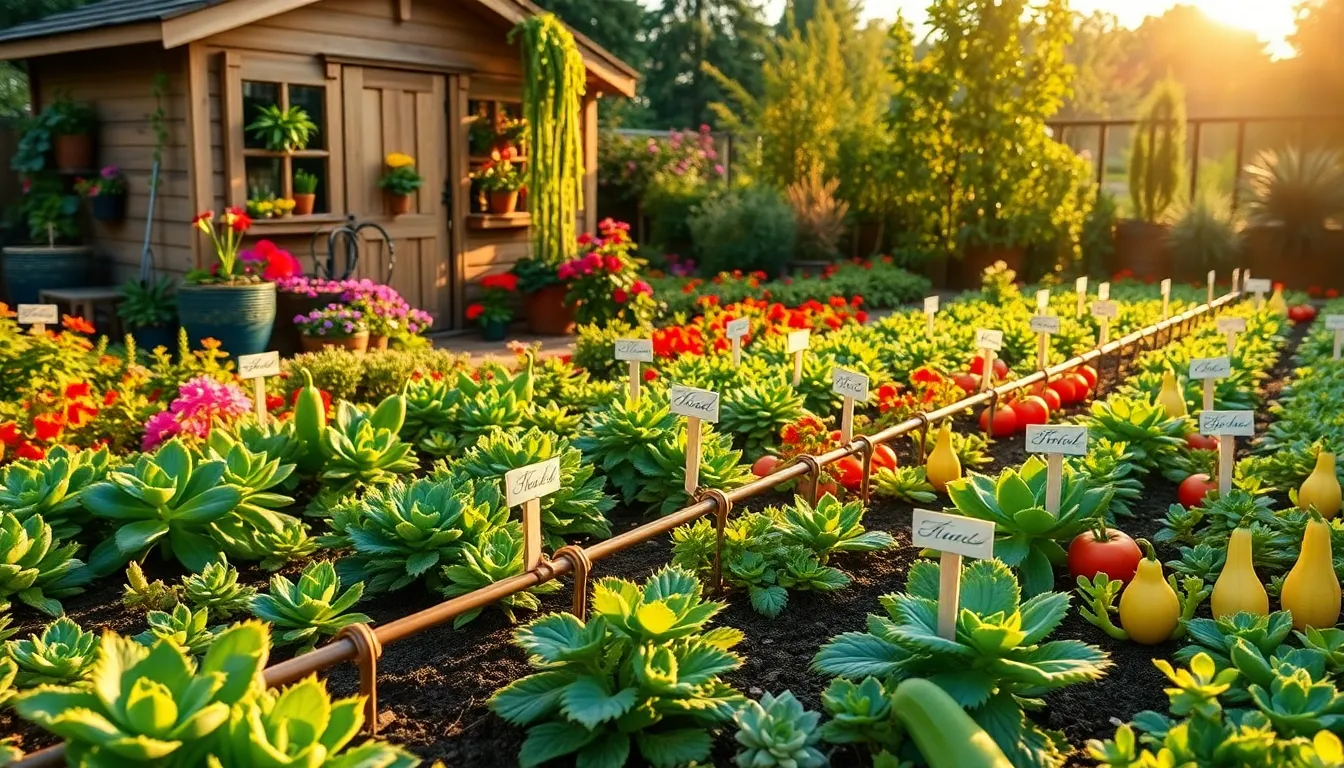
Before setting up your drip irrigation system, it is crucial to design an efficient layout that matches your garden’s needs. Begin by sketching a simple map of your garden, marking where each plant or plant group is located. This visual aid will help you plan where to place the mainline tubing and emitters. Consider the spacing of your plants and the water requirements for each type, as this will influence your layout design.
Next, determine where your water source is located relative to your garden. The closer your water source is to your main planting area, the easier it will be to install the system. Make sure that your layout allows for easy access to all plants without creating excessive tangles of tubing. Avoid sharp bends and kinks in the tubing, as these can restrict water flow and reduce efficiency.
When planning your irrigation layout, take into account the slope of your garden. Water naturally flows downhill, so if your garden is on a slope, consider placing the mainline at the top to allow gravity to assist the flow. For flat gardens, ensure that the water pressure is sufficient to reach the farthest plants. Incorporate pressure regulators or boosters if necessary to maintain even water distribution.
Once you have a clear layout plan, mark the positions of the mainline tubing and emitters on the ground using stakes or flags. This step will help you visualize the system before installation and make adjustments as needed. Ensuring that each plant receives the right amount of water is key, so take the time to position emitters near the root zone of each plant. Adjust emitter placement for different plant sizes and water needs, keeping in mind that larger plants may require multiple emitters.
Select Appropriate Drip Components
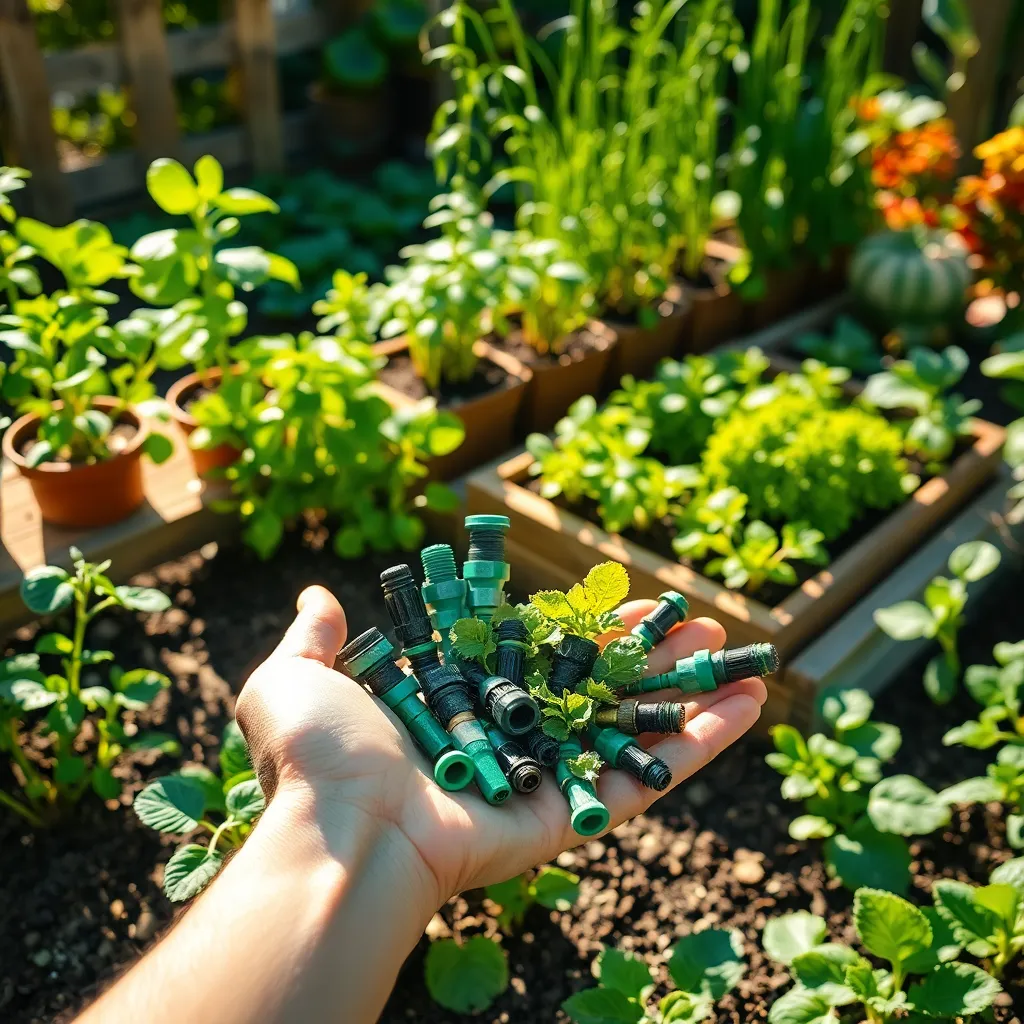
Choosing the right components for your drip irrigation system is crucial for its efficiency and longevity. Start by selecting a mainline tubing that is resistant to UV rays and can withstand varying weather conditions, ensuring it remains durable over time.
Next, consider the emitters, which determine the flow rate and distribution of water to your plants. For vegetable gardens, use emitters with a flow rate of 1 gallon per hour to provide a consistent, gentle watering, which is essential for healthy growth.
Pressure regulators are also necessary to ensure that the water pressure remains consistent and does not damage the system. Choose a regulator that maintains pressure between 15 and 25 PSI for optimal drip system performance, particularly if you have a large garden.
Additionally, installing a filter will help prevent clogging from sediments and debris, which is a common issue in drip irrigation systems. Select a filter that matches the diameter of your mainline tubing and has a fine mesh to effectively capture small particles.
Install Drip Lines and Emitters
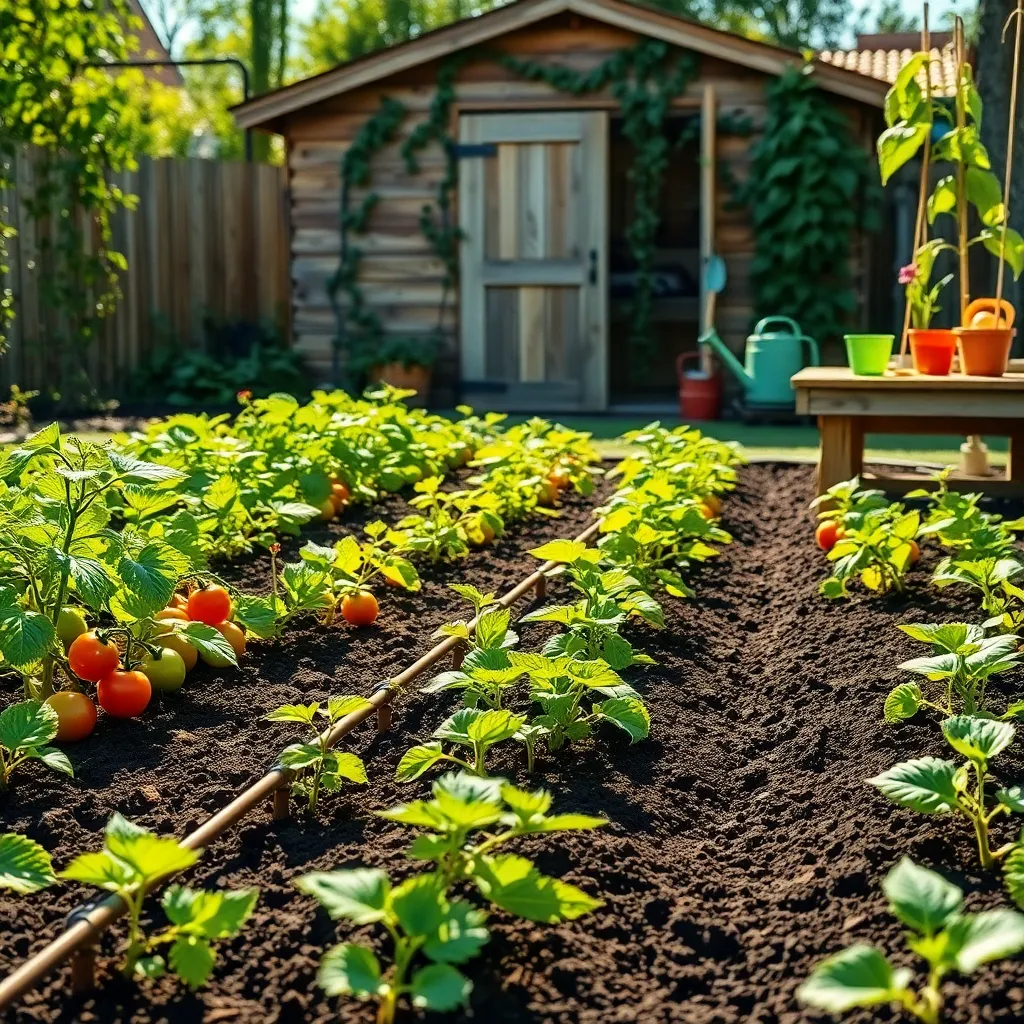
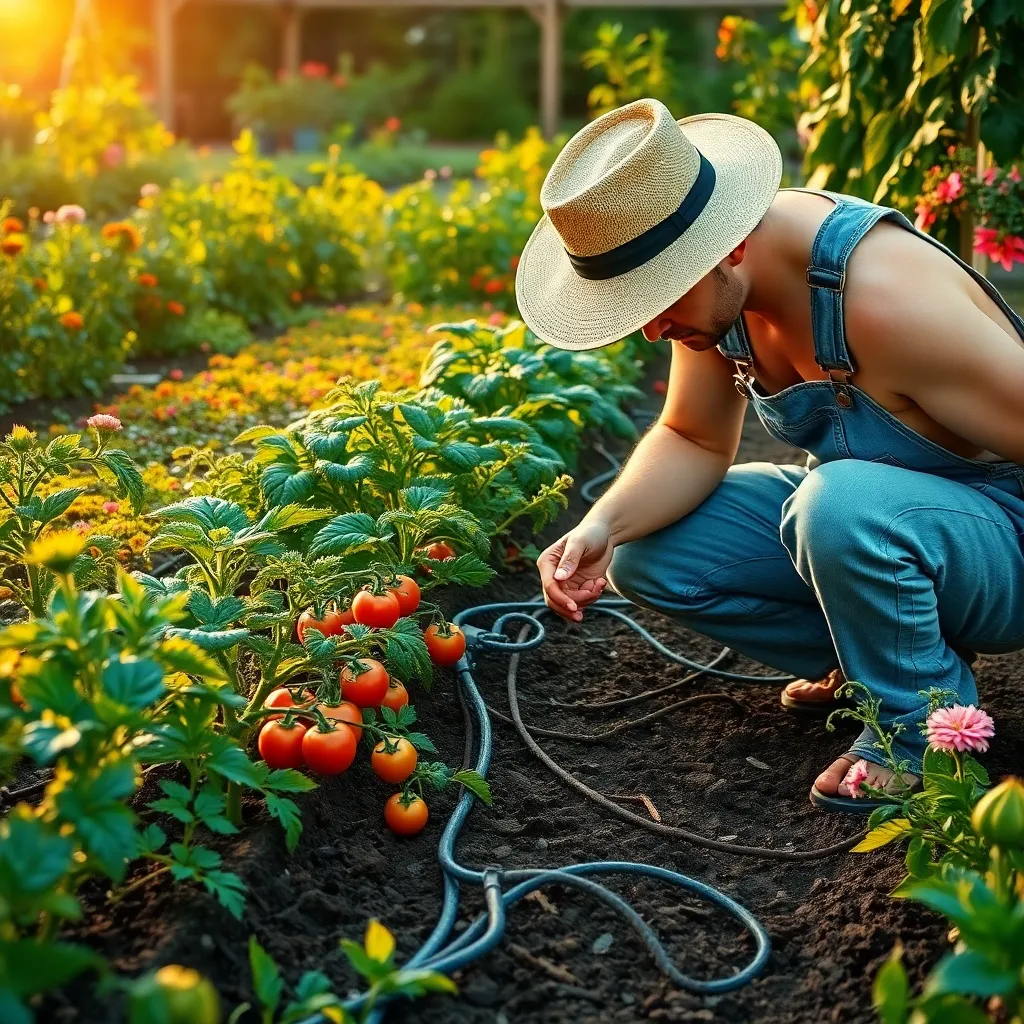
When installing drip lines and emitters, begin by laying out your main tubing along the area you wish to irrigate. This tubing will act as the backbone of your drip irrigation system, so ensure it reaches all the plants you intend to water.
Next, punch holes in the main tubing using a punch tool, where you plan to install the emitters. Keep these holes at a distance appropriate for your plant spacing, usually 12 to 18 inches apart for vegetable gardens.
Insert emitters into the holes you punched, ensuring they are securely attached. Emitters come in varying flow rates, typically between 0.5 and 2 gallons per hour, so choose according to the water needs of your plants.
For beginners, using pressure compensating emitters can ensure consistent water flow, even on uneven terrain. More experienced gardeners might opt for adjustable emitters, allowing for precise control over water delivery to each plant.
Once the emitters are installed, run the system for a few minutes to check for leaks and ensure water is reaching your plants. Adjust the emitter placement or flow rate as needed to ensure all plants receive adequate moisture.
Test and Adjust Water Flow
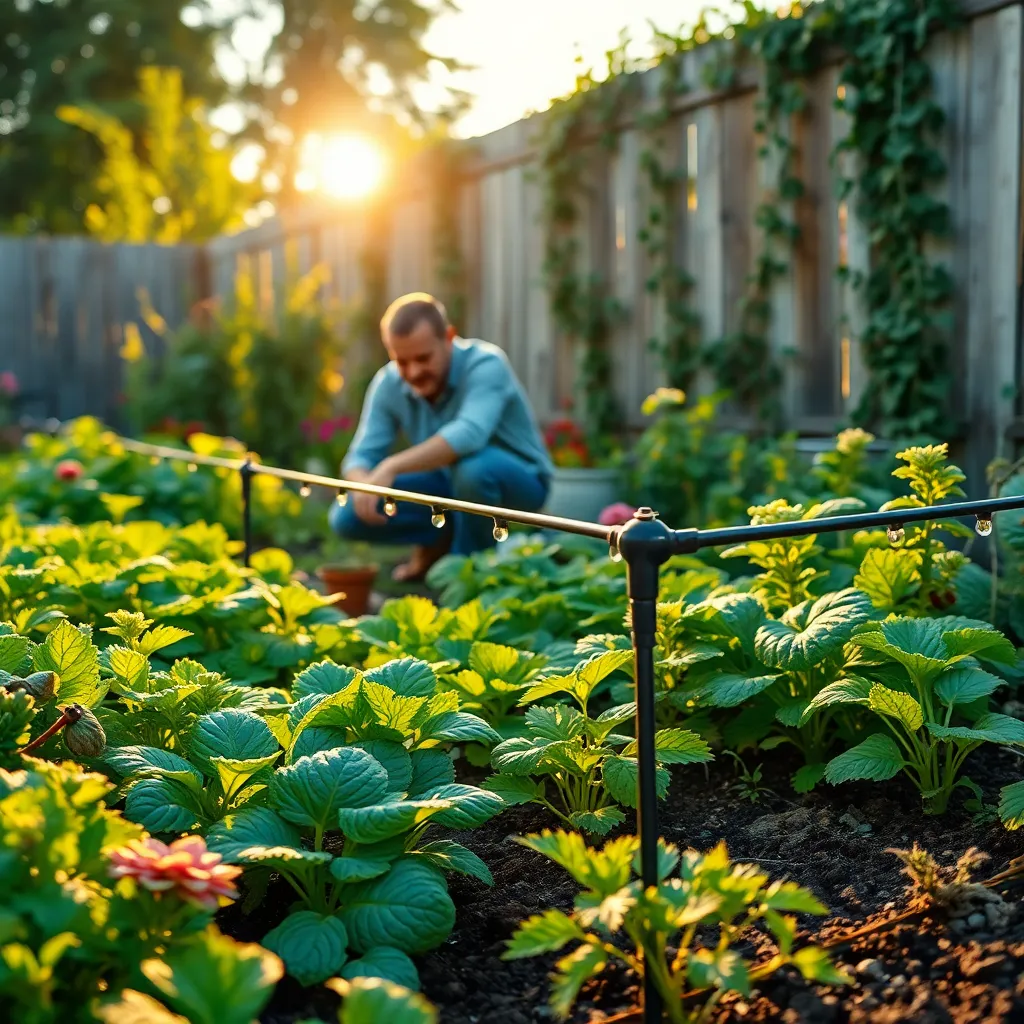
Once the drip lines and emitters are in place, it’s crucial to test and adjust the water flow to ensure your plants receive the right amount of moisture. Begin by turning on the water supply slowly, observing the emitters to check for uniformity in water distribution.
Consider the specific needs of your plants when adjusting the flow rate. For instance, vegetables and annual flowers typically require more water, so you might need to increase the flow for these areas compared to drought-tolerant perennials.
Inspect the soil around the emitters to ensure it’s being adequately moistened. Dig a small hole about 6 inches deep to check the moisture level; the soil should feel damp but not waterlogged, indicating a well-adjusted system.
Advanced gardeners might use a moisture meter to fine-tune their system further. This tool can provide precise data on soil moisture levels, helping you optimize water flow for different plant types and weather conditions.
Regular maintenance of your system helps prevent clogs and inefficiencies. Flush the lines periodically and clean emitters to maintain consistent water delivery, keeping your drip irrigation system in top condition year-round.
Conclusion: Growing Success with These Plants
In this Beginner’s Guide to Install a Drip Irrigation System, we’ve explored five key relationship concepts that mirror the nurturing process essential in both gardening and personal connections. First, we emphasized the importance of understanding your partner’s unique needs, akin to assessing the soil before planting. Next, we discussed effective communication, just as water flows through a drip system to nourish plants. We then highlighted consistency, much like the regular watering schedule that ensures growth. The fourth concept focused on adaptability, encouraging you to adjust your approach as situations change, similar to modifying your irrigation setup with the seasons. Finally, we stressed the value of patience, allowing time for your relationship to flourish, much like waiting for a garden to bloom.
Now, take an immediate step by scheduling a regular “relationship check-in” with your partner to ensure mutual understanding and growth. Bookmark this guide as a handy reminder of the essential steps to maintaining a thriving relationship. As you apply these principles, anticipate a future where your connections are not only resilient but also enriching. Your journey towards relationship success begins today; nurture it with care and intention.