
Gardening has a way of connecting us to the earth, offering a therapeutic escape from the hustle and bustle of everyday life. For both the novice gardener and the seasoned green thumb looking to optimize their space, building a raised garden bed is a game-changer. It allows you to control soil quality, improve drainage, and bring a touch of creativity to your garden layout. Whether you have limited yard space or simply want to try a new gardening method, raised beds can transform your gardening experience.
As we embark on this journey, you’ll discover the joy of customizing your garden to suit your needs and environment. This guide will walk you through the process of selecting materials, choosing the perfect location, and assembling your new garden bed with ease. Even if you’re new to DIY projects, you’ll find that constructing a raised bed is a rewarding challenge that enhances your gardening skills. By the end of this article, you’ll be ready to create a thriving, productive garden that reflects your personal touch and commitment to nurturing plant life.
Select the Ideal Location
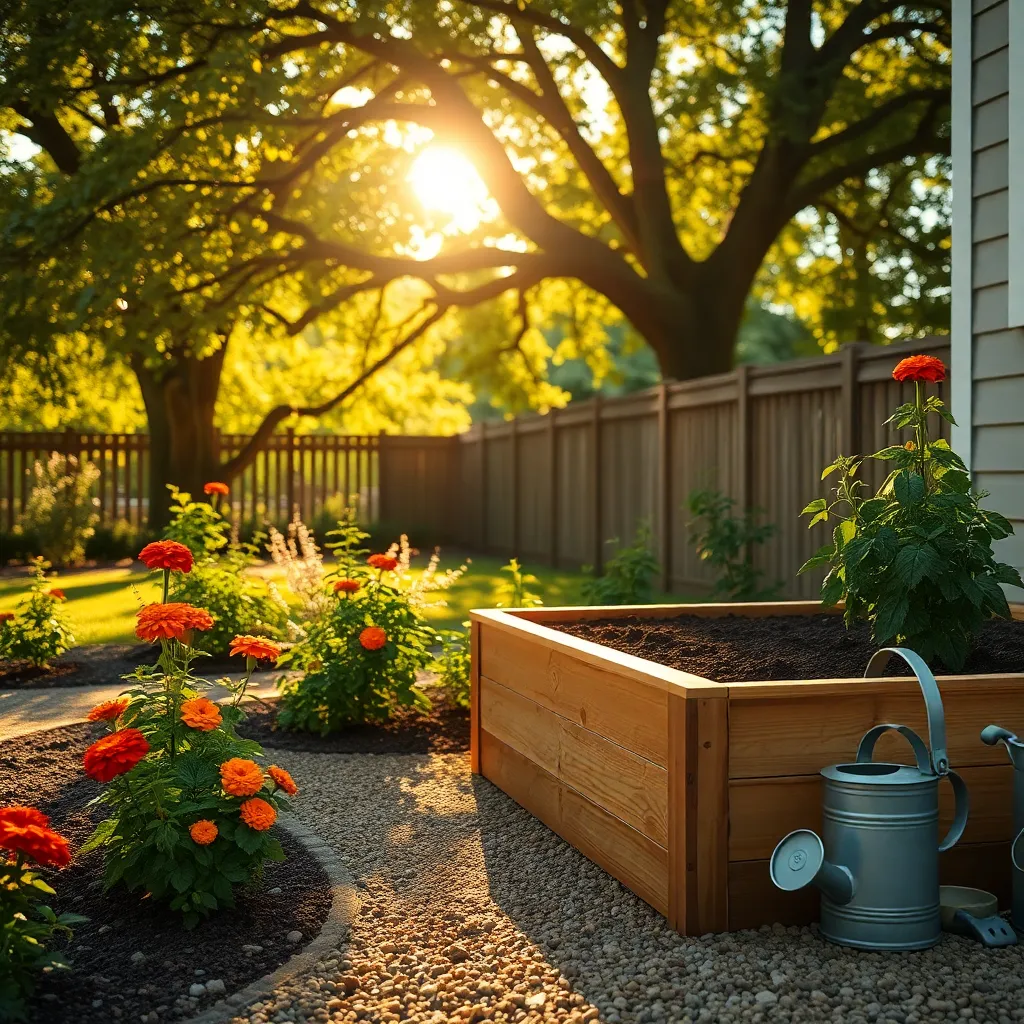
When selecting the ideal location for your raised garden bed, consider the amount of sunlight the area receives throughout the day. Most vegetables and flowers thrive in areas that receive at least six to eight hours of full sunlight daily, so choose a spot accordingly.
It’s also essential to consider the proximity of your garden bed to a reliable water source. This will make it easier to maintain a consistent watering schedule, which is crucial for healthy plant growth, especially during dry spells.
Pay attention to the soil drainage in the area, as good drainage is vital for preventing root rot and other water-related issues. If you notice water pooling after rain, consider elevating your beds or mixing in well-draining materials like sand or perlite.
Finally, think about the accessibility of the location. Make sure you can easily reach all parts of your garden bed for planting, watering, and harvesting, and ensure there is enough space for any gardening tools you might need to maneuver.
Gather Necessary Materials
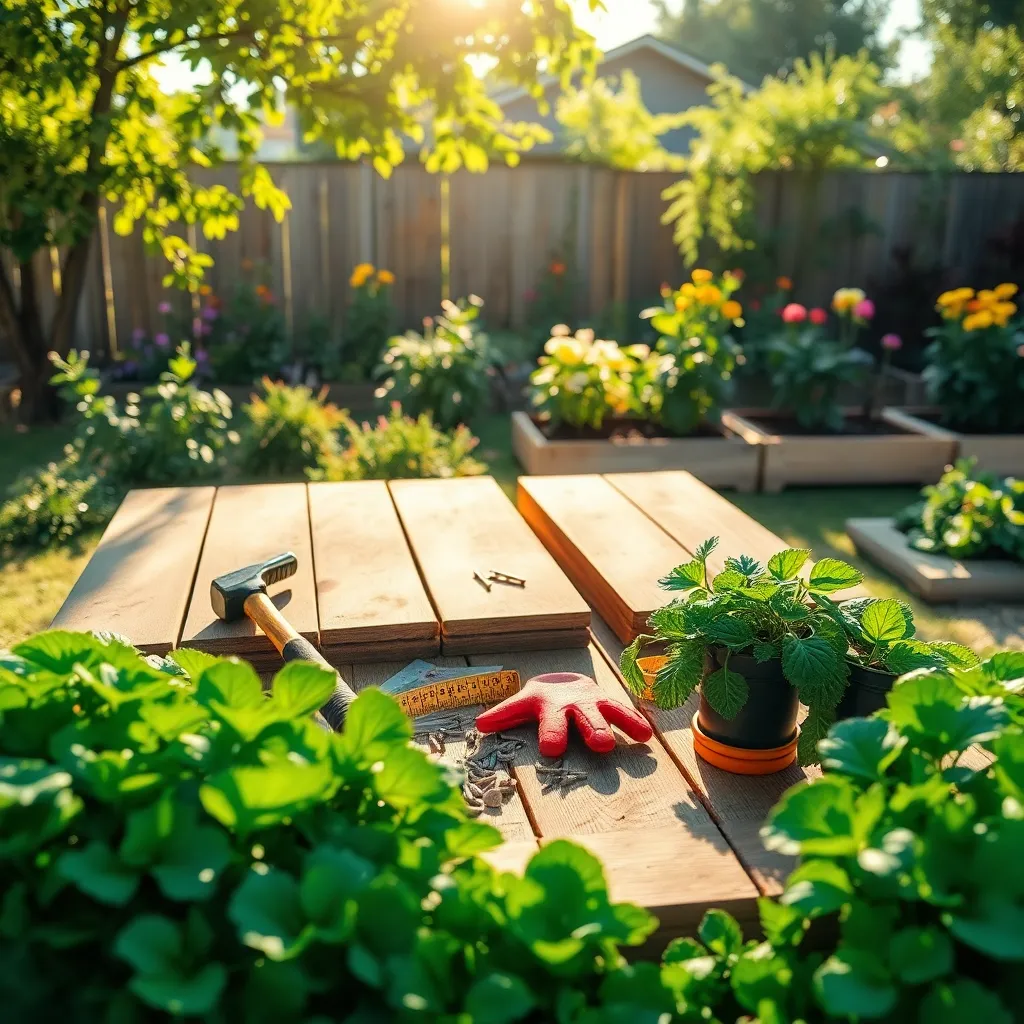
Before you start building your raised garden bed, make sure you have all the necessary materials on hand. Having everything ready will streamline the process and prevent unnecessary trips to the store.
Begin with acquiring the right type of wood, such as untreated cedar or redwood, which are naturally resistant to rot and pests. These materials ensure your bed lasts longer and reduces the need for chemical treatments.
Next, gather soil and compost to fill your raised bed. A good mix is 60% topsoil, 30% compost, and 10% potting soil, which will provide optimal nutrients and drainage for a variety of plants.
Additionally, you will need a few essential tools, including a tape measure, a saw for cutting wood, and a drill for assembling the bed. These tools will help you build a sturdy and precise structure.
Don’t forget to pick up some landscape fabric to line the bottom of your bed, which will help prevent weeds while allowing drainage. This step is particularly important if you’re placing your raised bed on top of grass or soil.
Construct the Garden Frame
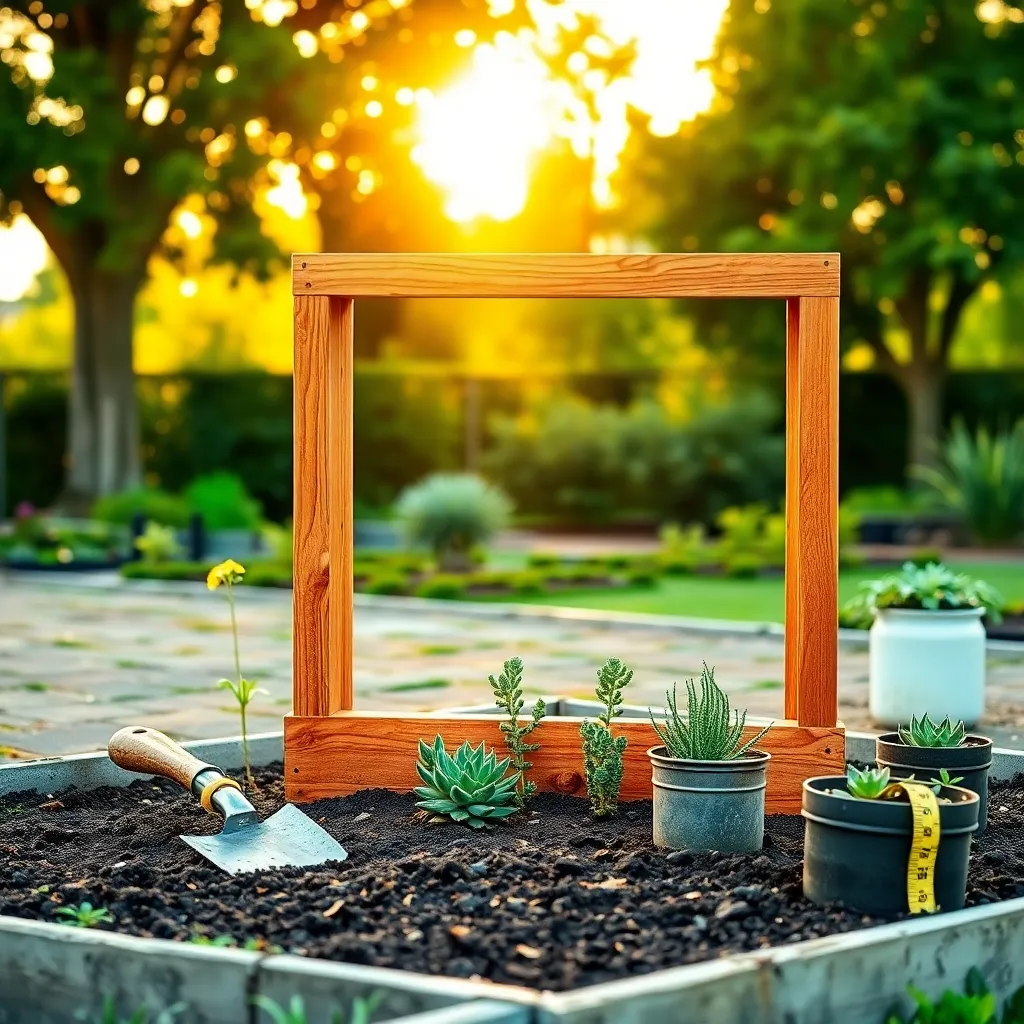
Once you have gathered your materials, it’s time to begin constructing the garden frame. Start by laying out the boards on a flat surface, ensuring that the length and width match your planned dimensions.
Use a carpenter’s square to check that the corners are perfectly aligned at 90 degrees. This step is crucial for stability, as a well-built frame will last for many seasons with minimal maintenance.
Secure the corners using weather-resistant screws or bolts to withstand outdoor conditions. For added strength, consider using metal corner brackets, which are particularly useful if you plan to build a larger or taller bed.
Before assembling the frame in your garden, double-check the levelness of the ground where it will be placed. Uneven ground can lead to poor drainage and uneven plant growth, so take the time to level the soil if necessary.
Once the frame is complete, move it to the desired location in your garden. Place it carefully to avoid disturbing the surrounding soil, and ensure it sits securely in place before filling it with soil and plants.
Fill with Quality Soil
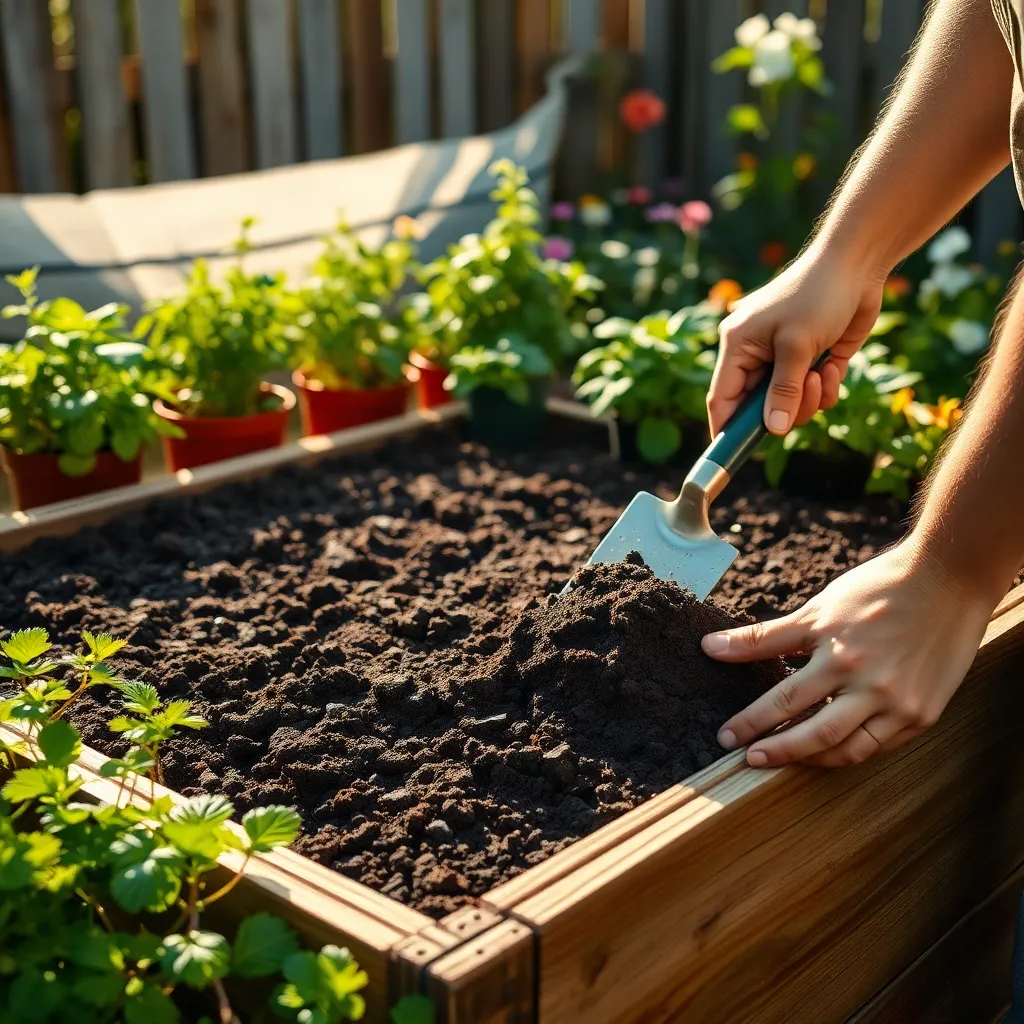
Once your garden frame is in place, it’s time to fill it with quality soil. Choose a well-draining soil mix that supports healthy plant growth, ideally a blend of topsoil, compost, and organic matter.
Start with a base layer of coarse materials like small rocks or gravel to ensure proper drainage. This is crucial to prevent waterlogging, which can lead to root rot.
Next, fill the bed with a mix of topsoil and compost, aiming for a ratio of about 60% topsoil to 40% compost. Compost enriches the soil with nutrients and improves its texture, promoting robust plant growth.
If you’re growing vegetables, consider mixing in some well-rotted manure or organic fertilizers. These amendments provide a slow release of nutrients, supporting your plants throughout the growing season.
After filling the bed, water the soil thoroughly to help it settle and remove any air pockets. This ensures your plants have a stable environment to establish their roots.
For more experienced gardeners, consider testing the soil pH and adjusting as necessary. Most vegetables prefer a slightly acidic to neutral pH range of 6.0 to 7.0 for optimal nutrient uptake.
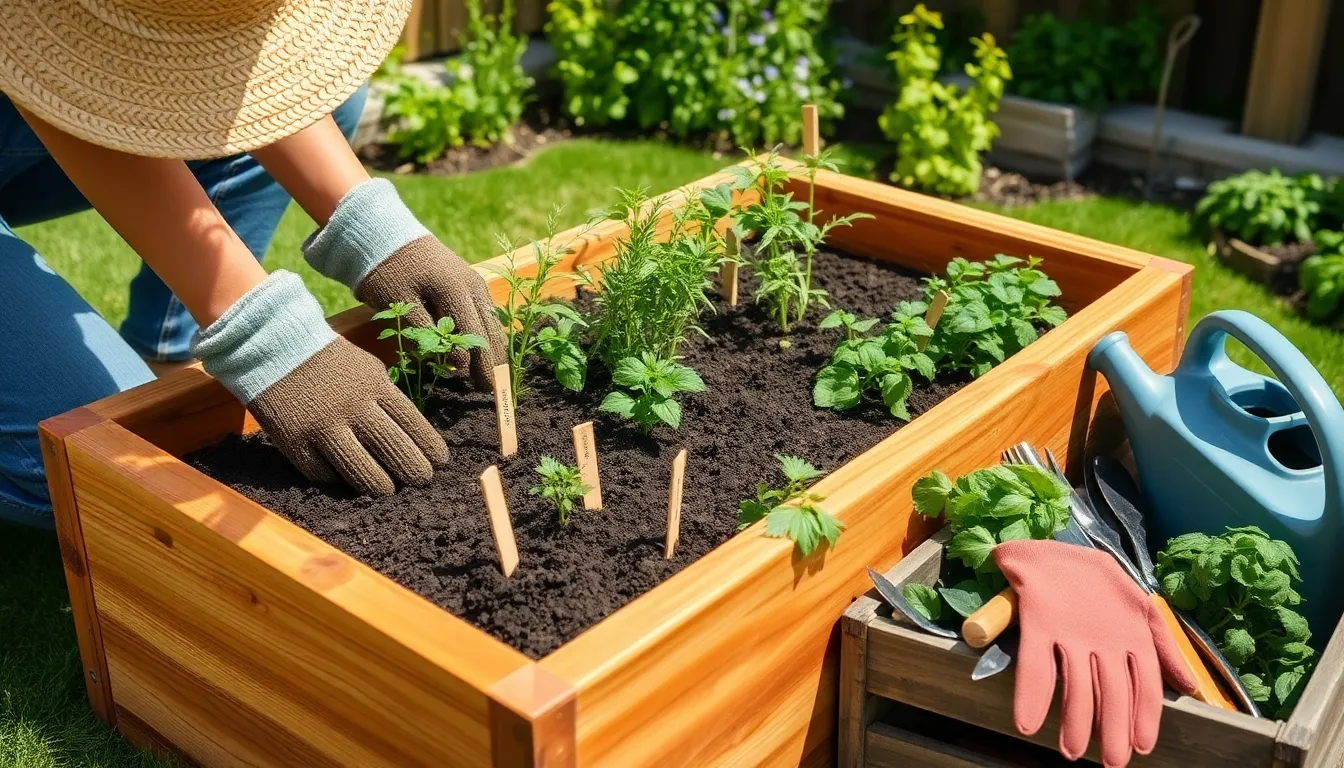
Plan and Plant Your Crops
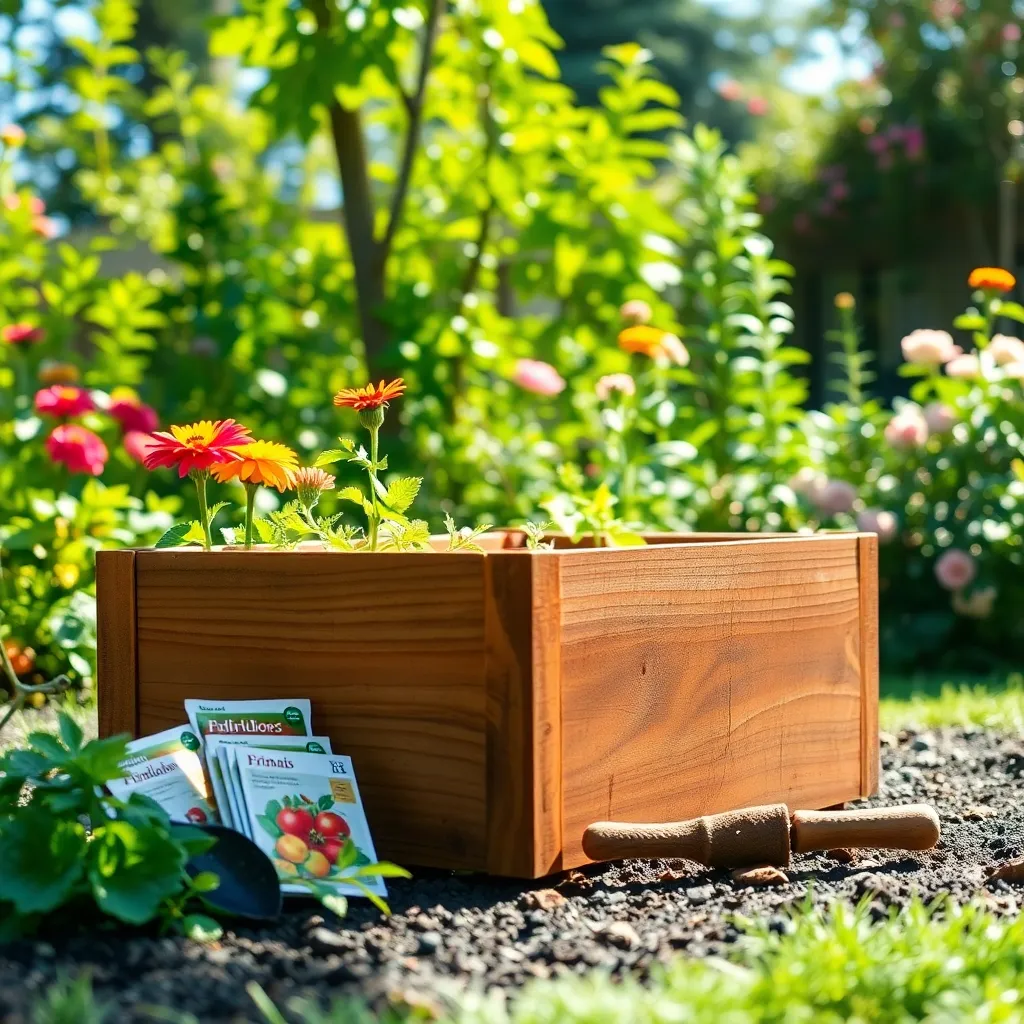
Once your raised bed is filled with quality soil, it’s time to plan your crops strategically. Consider the sunlight requirements of each plant, as some thrive in full sun while others prefer partial shade.
Start by choosing plants that suit your climate and the current season. For beginners, easy-to-grow options like lettuce, radishes, and tomatoes are a great starting point.
Arrange your plants based on their growth habits to maximize space and sunlight exposure. Tall plants like tomatoes should be placed at the back or center, while shorter plants such as basil or lettuce can go in the front.
Watering is crucial, especially in raised beds, where soil can dry out quickly. Aim to water deeply once or twice a week, ensuring the moisture reaches the root zone of your plants.
Incorporate companion planting to naturally repel pests and improve growth. For instance, planting marigolds alongside vegetables can deter harmful insects while enhancing the overall garden health.
Advanced gardeners might consider succession planting to extend their harvest. This involves planting new crops as soon as an earlier one is harvested, ensuring a continuous supply of fresh produce throughout the growing season.
Conclusion: Growing Success with These Plants
In the journey of nurturing a relationship, like building a raised garden bed, the foundational steps are crucial. We explored five key concepts: communication as the soil where understanding grows, trust as the sturdy frame supporting the structure, shared goals as the seeds we plant together, patience as the nurturing sunlight, and adaptability as the water that nourishes growth. To put these insights into action, take a moment today to engage in an open dialogue with your partner about a shared goal you both cherish. This simple step can sow the seeds of deeper connection and mutual understanding.
As you embark on this path of relationship enhancement, save or bookmark this article as a handy guide. Its insights will be your trusty toolset, ready to support you as you cultivate a thriving partnership. Remember, with dedication and care, your relationship can flourish beyond your expectations. Embrace these principles, and look forward to a future where your relationship blossoms with resilience and joy. Let this be the day you take control of your relationship’s growth, knowing that every small effort contributes to a flourishing future together.