
Succulents have captured the hearts of both novice and seasoned gardeners with their charming resilience and unique beauty. Whether you’re just starting your gardening journey or have a thriving collection, learning how to propagate these delightful plants can add a rewarding dimension to your horticultural experience. Propagation not only allows you to expand your succulent family at little to no cost, but it also offers a deeper understanding of plant care and growth cycles, enhancing your overall gardening skills.
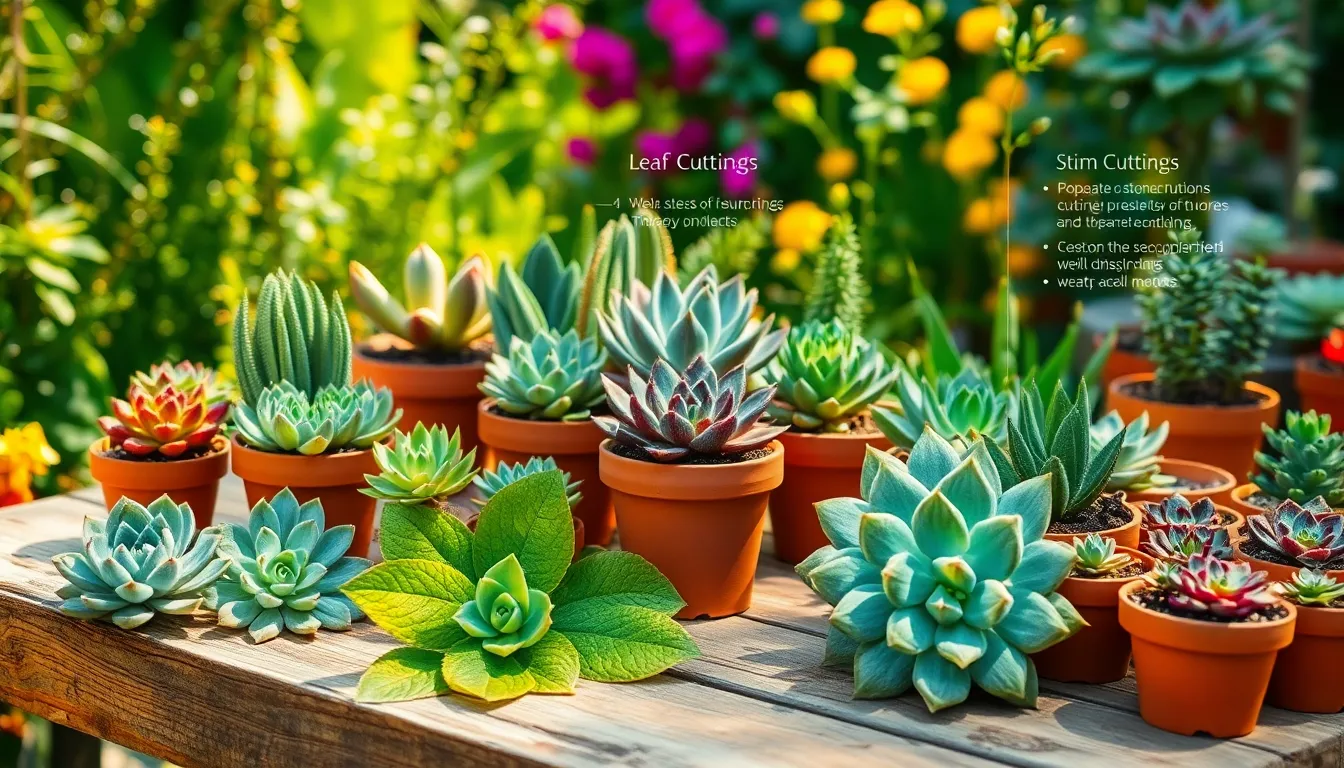
In this guide, we’ll demystify the art of succulent propagation, breaking it down into simple, actionable steps that anyone can follow. You’ll explore various methods suited for different types of succulents, from leaf cuttings to offsets, ensuring that you have the knowledge to cultivate a diverse and healthy collection. By mastering these techniques, you’ll not only cultivate new plants but also gain confidence in your ability to nurture life, sprouting new growth both in your garden and in your personal gardening expertise.
Select Healthy Parent Leaves
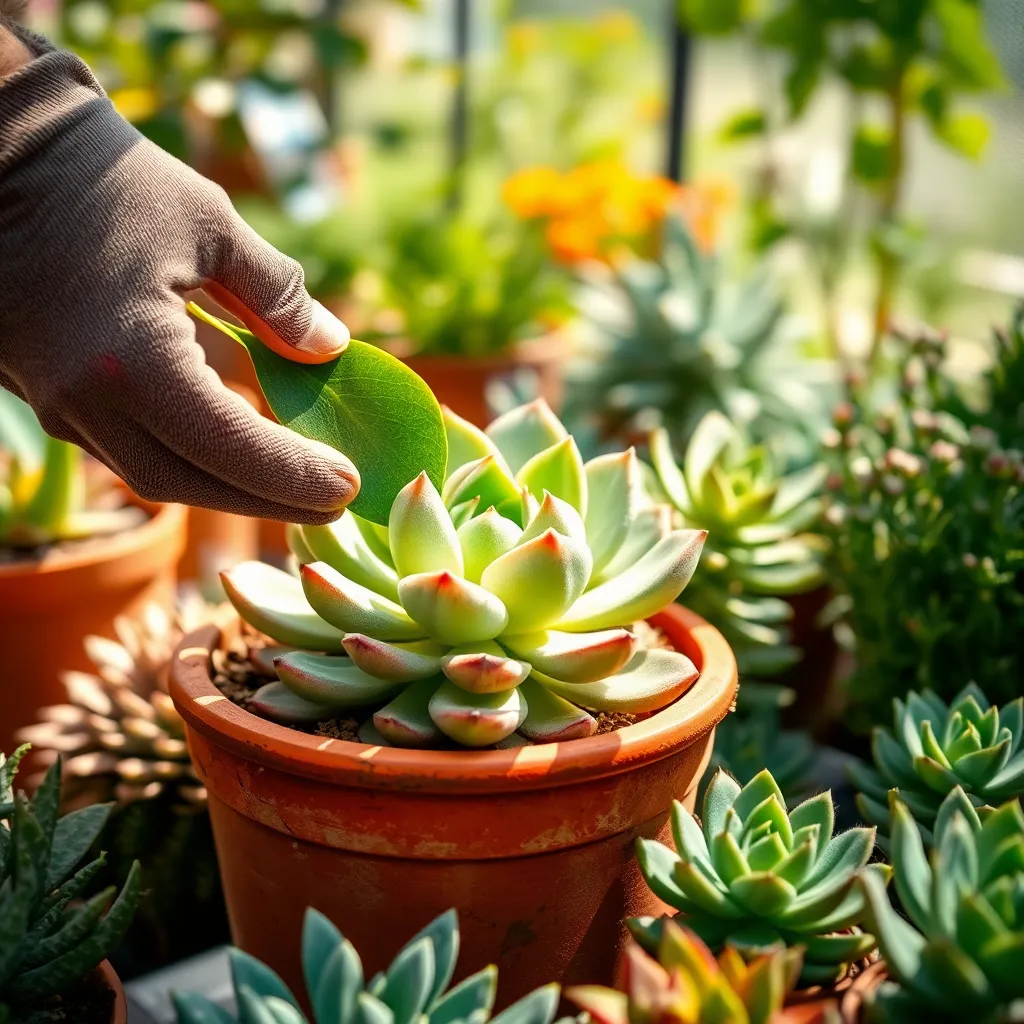
When selecting parent leaves for succulent propagation, **choose mature and healthy leaves** from the plant. Avoid leaves that are damaged, discolored, or showing signs of disease, as these won’t propagate well.
Look for leaves that are plump and firm, which indicates they are healthy and full of moisture. **Gently twist the leaf off** the stem with a clean break to ensure the best chance of successful growth.
It’s important to select leaves from the lower part of the plant, as these are often more mature. **Avoid the topmost leaves**, as they are still young and may not have the energy reserves needed for propagation.
For those looking to advance their skills, try propagating from **different types of succulents** to observe varying growth patterns. This experiment can help you understand how different species respond to propagation and refine your techniques over time.
Allow Cuttings to Callus
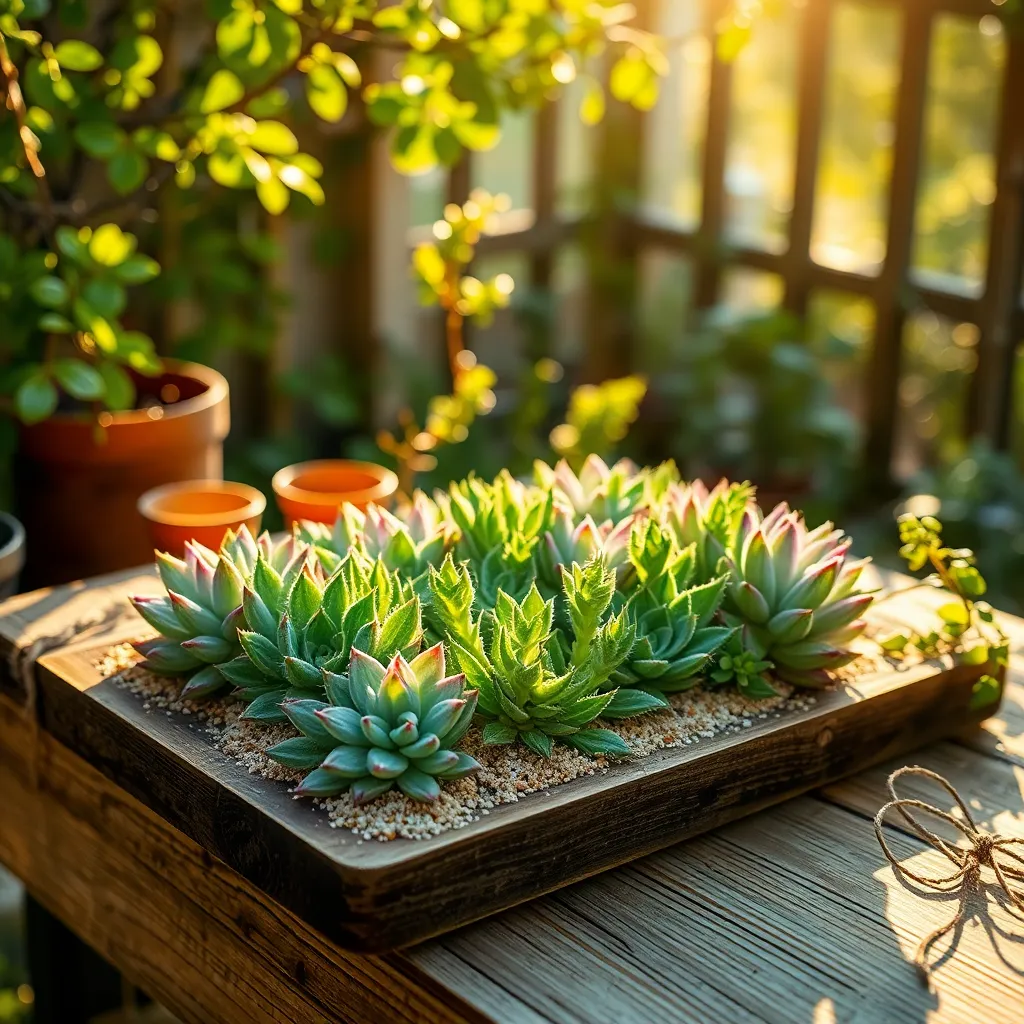
After selecting healthy parent leaves, it’s crucial to allow the cuttings to callus before planting. This process involves letting the cut ends dry out to prevent rot when they are eventually placed in soil.
Place the cuttings in a dry area with indirect sunlight for a few days to a week. During this time, you’ll notice the cut ends forming a protective layer, which is essential for successful propagation.
Ensure the environment is not too humid, as excess moisture can delay the callusing process and encourage mold growth. If you’re in a particularly humid area, consider using a small fan to improve air circulation around the cuttings.
Once the cuttings have callused, they are ready to be planted in a suitable growing medium. Use a well-draining soil mix, such as a blend of cactus soil and perlite, to promote healthy root development.
For advanced gardeners, experimenting with different soil additives like pumice or coarse sand can further enhance drainage and aeration, benefiting the succulents. Keep in mind that patience during the callusing stage is key to preventing future issues with rot and disease.
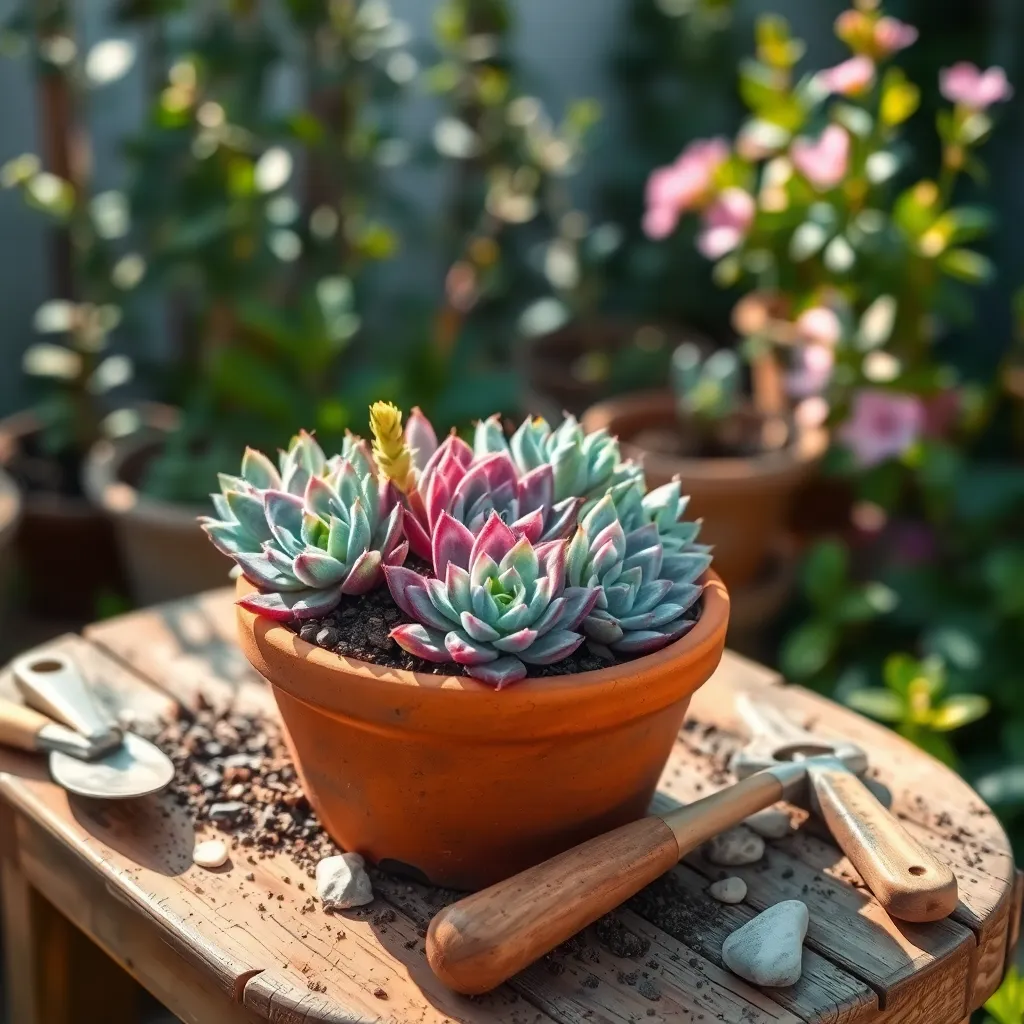
Prepare Suitable Potting Mix

Once your succulent cuttings have callused, it’s time to prepare a suitable potting mix to encourage healthy root development. Succulents thrive in a well-draining soil mix that prevents root rot and mimics their natural arid environment.
Start with a base of regular potting soil, but modify it for better drainage by adding inorganic materials such as coarse sand, perlite, or pumice. These additives improve aeration and ensure excess water doesn’t linger around the roots.
For those new to gardening, a simple mix of two parts potting soil, one part perlite, and one part sand can work wonders. This blend provides both the nutrients and the drainage succulents need to establish themselves quickly.
Experienced gardeners might consider customizing their mix further by including materials like crushed granite or turface for enhanced drainage and root aeration. Always test your mix before planting by watering it to make sure it drains rapidly.
Once your potting mix is ready, fill small pots or trays with the mixture, ensuring there’s enough space for the cuttings to spread their new roots. Gently press the mix down to eliminate any air pockets, but avoid compacting it too tightly, as succulents prefer a looser substrate.
Plant Cuttings in Soil
After preparing the suitable potting mix, it’s time to plant your succulent cuttings in soil. Choose a clean pot with drainage holes to prevent waterlogging, as succulents hate sitting in water.
Allow the cuttings to callous over for a day or two before planting. This step is crucial in preventing rot by sealing the cut end, which is important for the cutting’s survival.
Position the cuttings so that they are upright in the potting mix and ensure they are stable. You can use a small stick or toothpick to support them if necessary, ensuring they have direct contact with soil.
Water sparingly initially, allowing the soil to dry out completely between waterings. Overwatering is a common mistake, so feel the soil with your fingers to check for moisture before adding more water.
Place the pot in an area with bright, indirect sunlight to encourage growth without scorching the tender cuttings. As they develop roots, you can gradually move them to a spot with more light.
Patience is key, as succulent cuttings can take several weeks to establish. Once they show new growth, you can treat them as mature plants and adjust their watering schedule as needed.
Provide Adequate Light and Water
Providing adequate light and water is crucial for successful succulent propagation. Succulents thrive in bright, indirect light, so place your cuttings near a sunny window or under a grow light for optimal growth.
While these plants are drought-tolerant, overwatering can be detrimental, leading to root rot. It’s essential to let the soil dry completely between waterings, which usually means watering about once every two weeks, depending on your climate.
For those in regions with limited sunlight, consider using a grow light to supplement natural light. Choose a full-spectrum LED grow light and position it about 6 to 12 inches above your succulents for 12 to 14 hours per day to mimic natural daylight.
Advanced gardeners might experiment with different soil mixes to improve water drainage. A well-draining cactus mix or a blend of regular potting soil with perlite or pumice helps prevent waterlogging and supports healthy root development.
Conclusion: Growing Success with These Plants
In exploring “How To Propagate Succulents,” we’ve uncovered five essential relationship concepts that mirror the nurturing process of plant propagation. First, like the gentle care succulents require, relationships thrive on patience and consistent effort. Second, understanding your partner’s unique needs is akin to knowing the specific needs of each succulent variety. Third, communication acts as the vital sunlight, fostering growth and understanding. Fourth, adaptability is crucial, much like adjusting to seasonal changes for optimal growth. Finally, the importance of cultivating a supportive environment parallels creating a space where love can flourish.
As your actionable next step, take a moment today to reflect on one of these concepts and how you can incorporate it into your relationship. Whether it is practicing patience or improving communication, choose one small change to implement.
We encourage you to bookmark this article for future reference as you continue to nurture your relationships. Remember, relationships, like succulents, require ongoing attention and care, but the beauty that blooms is well worth the effort. Looking ahead, by embracing these principles, you’re well on your way to cultivating a thriving, resilient partnership. Save this guide and revisit it whenever you need a gentle reminder of the nurturing path to relationship success.