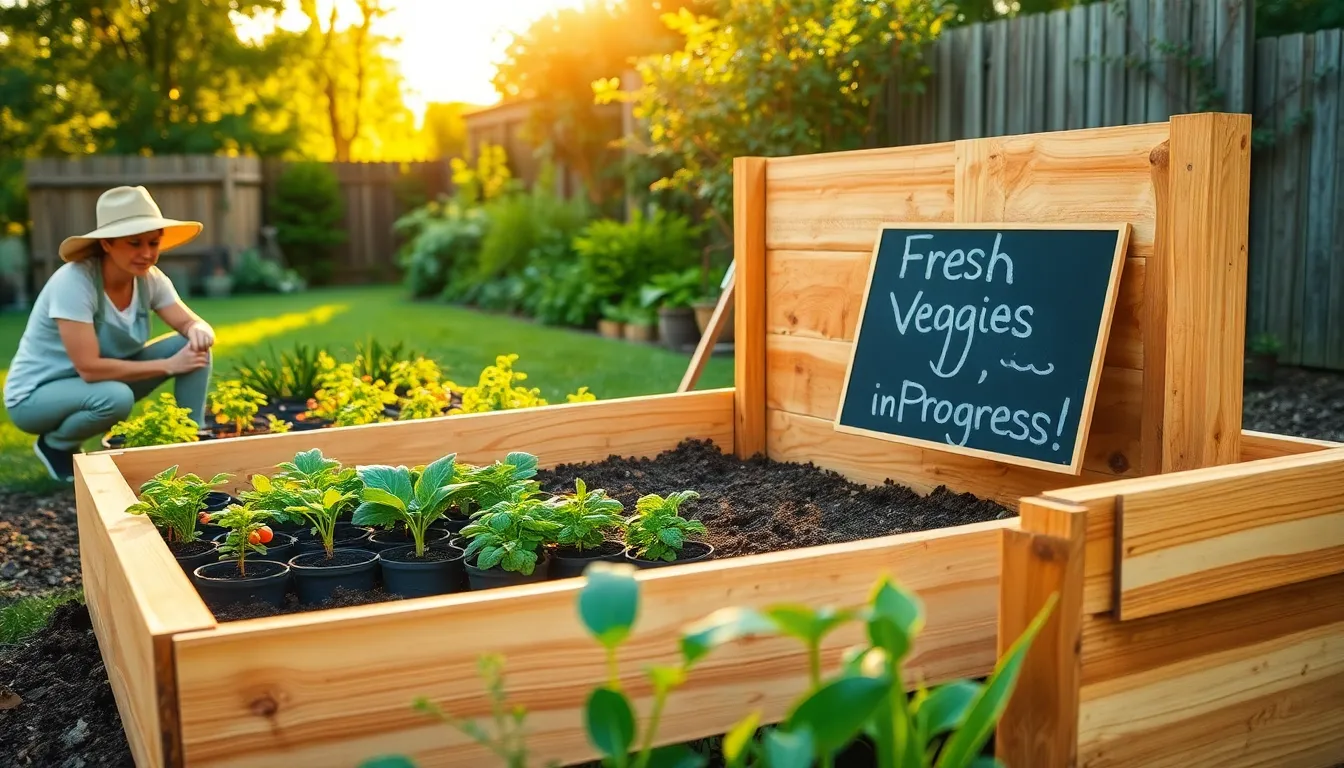

Gardening is a journey that flourishes with each seed sown and every bed tended. Whether you’re a budding enthusiast or have already cultivated your green thumb, building a raised garden bed can transform your growing experience, offering both practicality and aesthetic appeal. Raised beds elevate not just your plants, but your entire gardening practice, providing better drainage, reduced soil compaction, and a canvas for your creativity.
In this article, we’ll guide you through the rewarding process of constructing your very own raised garden bed, tailored to your space and needs. You’ll learn about selecting the right materials, choosing a suitable location, and assembling your bed with confidence. As you immerse yourself in this hands-on project, you’ll discover that building a raised garden bed is an investment in the health of your plants and the joy of your gardening journey. Let’s dig in together and lay the foundation for your garden’s success, creating a space where your plants—and your passion—can truly thrive.
Select the Ideal Location
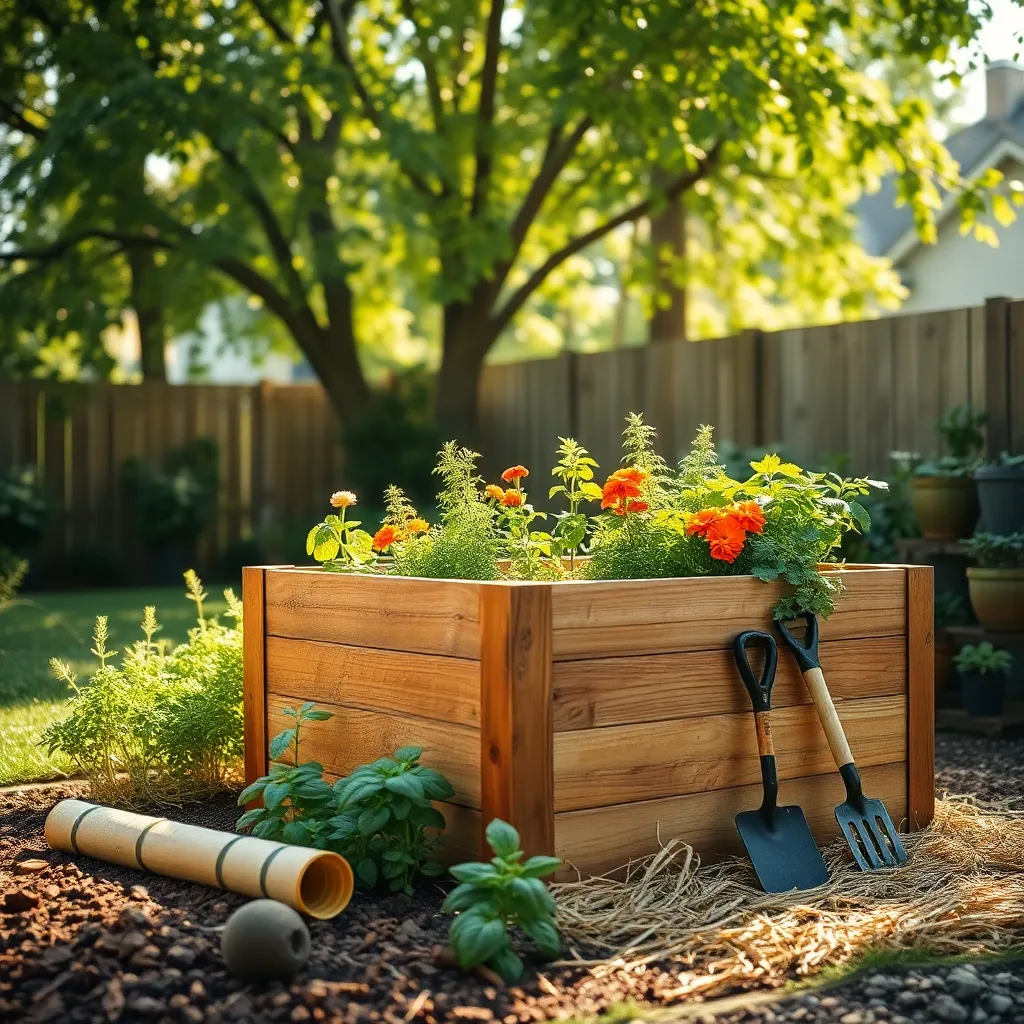
Choosing the right spot for your raised garden bed is crucial to ensure healthy plant growth. Look for a location that receives at least six to eight hours of sunlight daily, as most vegetables and flowers thrive in full sun.
Consider the proximity to a water source to make irrigation convenient and efficient. Water access is especially important during hot summer months when your plants will need more frequent watering.
Ensure the area has good drainage to prevent waterlogging, which can harm plant roots. If your soil tends to retain water, slightly elevate the bed or incorporate gravel or sand at the base to enhance drainage.
While beginners should focus on these basics, experienced gardeners might want to analyze the soil pH to ensure it matches the needs of the plants they intend to grow. Adjusting pH levels with lime or sulfur can optimize nutrient uptake and improve plant health.
Gather Necessary Materials
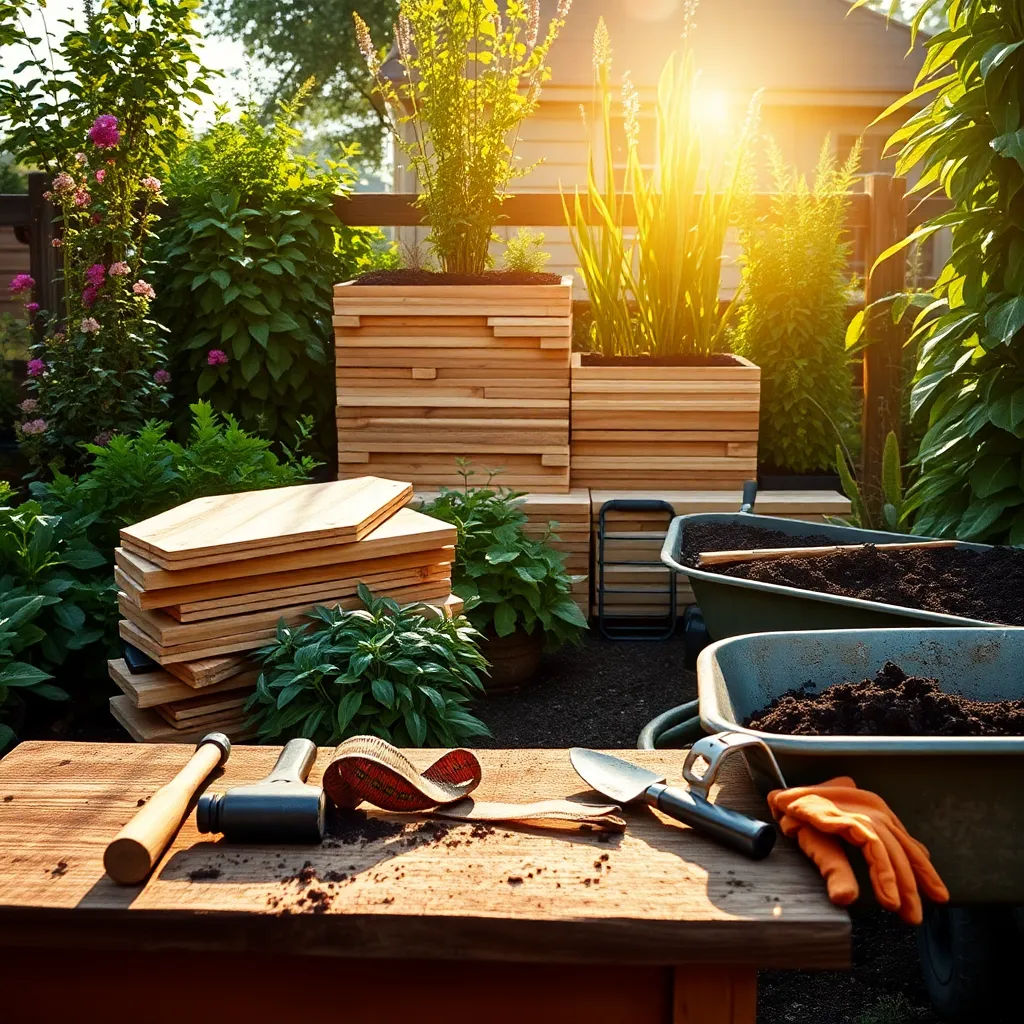
Before starting your raised garden bed project, gather all the essential materials to ensure a smooth building process. You will need untreated wood, soil, and gardening tools to begin.
Choosing the right wood is crucial for longevity and plant safety. Opt for rot-resistant types like cedar or redwood, as they are naturally durable and safe for edibles.
Next, focus on acquiring high-quality soil, as this will be the foundation of your plant’s growth. Aim for a well-draining mix, combining topsoil, compost, and organic matter to create a nutrient-rich environment.
Don’t forget to equip yourself with necessary tools such as a saw, drill, and screws to construct the frame securely. For precision, a measuring tape and level will ensure your bed is even and well-built.
Construct the Wooden Frame
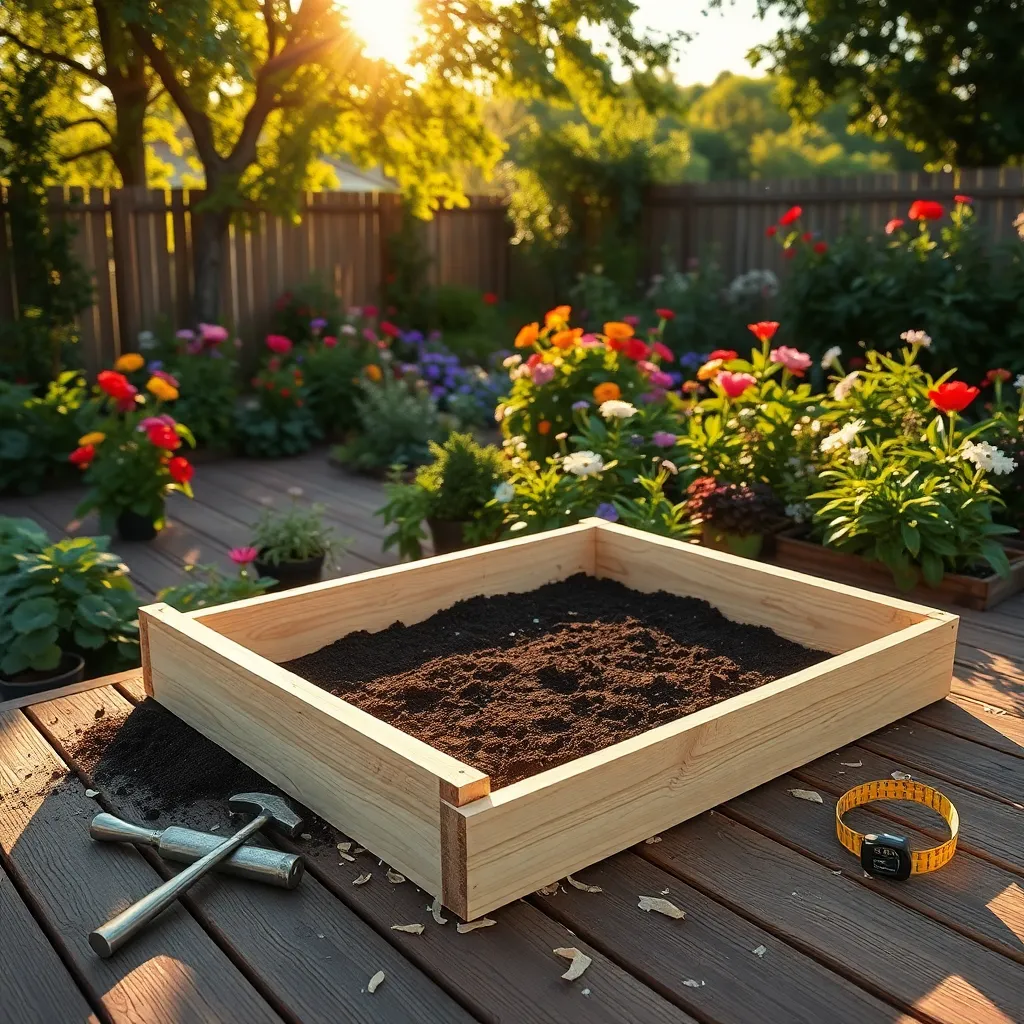
To construct the wooden frame for your raised garden bed, you’ll need to choose durable wood like cedar or redwood, as these are naturally rot-resistant. Avoid using treated wood, as chemicals can leach into the soil and affect plant health.
Begin by cutting the wood to your desired dimensions, typically four sides of equal length for a square bed or two longer and two shorter sides for a rectangular one. Use a saw to make precise cuts, ensuring each piece fits snugly together for a sturdy frame.
Next, assemble the frame by aligning the corners and securing them with galvanized screws, which resist rust and provide strong support. It can be helpful to use a power drill to make pilot holes, preventing the wood from splitting.
For added stability, consider reinforcing the corners with metal brackets or wooden corner posts, especially if you’re building a larger bed. This step is crucial for maintaining the shape of the frame and supporting the weight of the soil.
Fill with Quality Soil
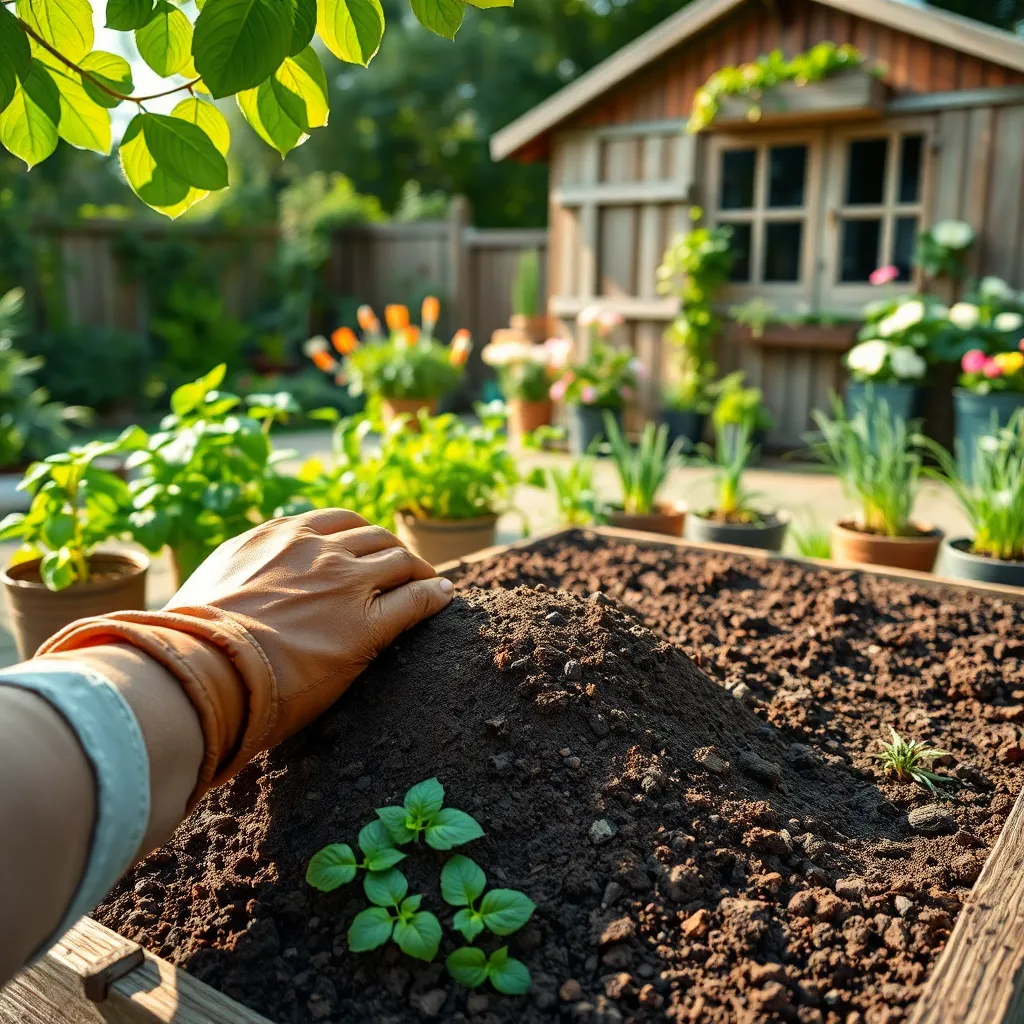
After constructing your wooden frame, it’s crucial to fill it with quality soil to ensure a thriving garden. Start by choosing a well-draining, nutrient-rich soil mix, which is essential for plant health and robust growth.
Opt for a mix that combines topsoil, compost, and a bit of sand or perlite to improve aeration. This blend will not only provide essential nutrients but also support proper root development and drainage.
For those new to gardening, purchasing a pre-mixed raised bed soil from a garden center can be a convenient option. Advanced gardeners might prefer to customize their own mix, adjusting components based on the specific needs of their plants.
When filling the bed, loosely layer the soil to avoid compacting it, which can hinder root growth and water absorption. Water the soil thoroughly after filling to settle it and eliminate any air pockets.
Consider incorporating organic matter such as aged manure or leaf mold to enrich the soil further. This addition will gradually release nutrients and improve the soil’s structure over time, enhancing plant health and productivity.
Finally, take note of the local climate and adjust your soil mix accordingly to suit your plants’ specific needs. Regularly test the soil pH to ensure it remains within the optimal range for the plants you are cultivating, typically between 6.0 and 7.0 for most vegetables.
Plant Your Chosen Vegetables
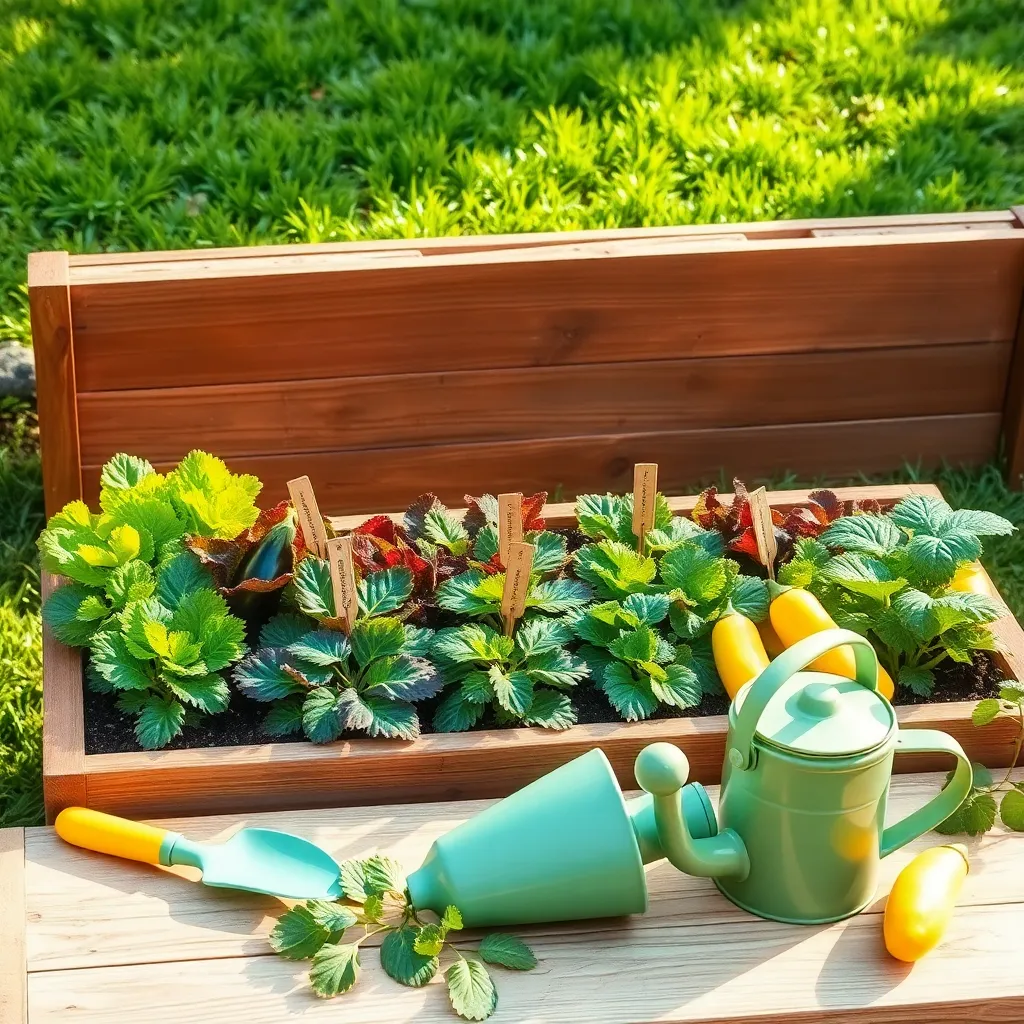
Now that your raised garden bed is filled with quality soil, it’s time to plant your chosen vegetables. Begin by selecting vegetables that are well-suited to your climate and the current season, ensuring they have ample sunlight and space to thrive.
Consider starting with easy-to-grow options like lettuce, radishes, or carrots if you’re new to gardening. These vegetables require less maintenance and can quickly reward you with a bountiful harvest.
Spacing is crucial when planting, so make sure to follow the seed packet instructions for each vegetable. Proper spacing helps prevent overcrowding, which can lead to disease and reduced yields.
Water your newly planted vegetables thoroughly but be careful not to overwater. A general rule of thumb is to keep the soil consistently moist, aiming for about one inch of water per week, either from rainfall or supplemental watering.
For more experienced gardeners, try interplanting compatible vegetables to maximize space and deter pests. For example, planting onions alongside carrots can help repel carrot flies, providing a natural pest control method.
Finally, monitor your plants regularly for signs of pests or nutrient deficiencies. A healthy garden bed requires attention and care, so be proactive in addressing any issues that arise, ensuring your vegetables grow strong and productive.
Conclusion: Growing Success with These Plants
In exploring the parallels between building a raised garden bed and nurturing a thriving relationship, we’ve uncovered five key concepts: the importance of a strong foundation, the need for consistent care and attention, the power of communication as the perfect soil for growth, the benefits of embracing diversity, and the art of cultivating resilience through changing seasons. These insights highlight how relationships, much like gardens, flourish when nurtured with patience, dedication, and love.
As your next step, consider setting aside quality time this week to discuss these principles with your partner or loved ones. Open a dialogue about how you can apply these concepts to strengthen your bond, ensuring both parties are aligned and engaged in the process.
Remember, the journey of nurturing a relationship is ongoing. Bookmark this article to revisit these essential strategies whenever you need a refreshing reminder or a burst of inspiration. By doing so, you’ll equip yourself with the tools to grow a relationship that not only survives but thrives through life’s challenges. Embrace the future with optimism, knowing that with each intentional action, you’re sowing the seeds for enduring relationship success.